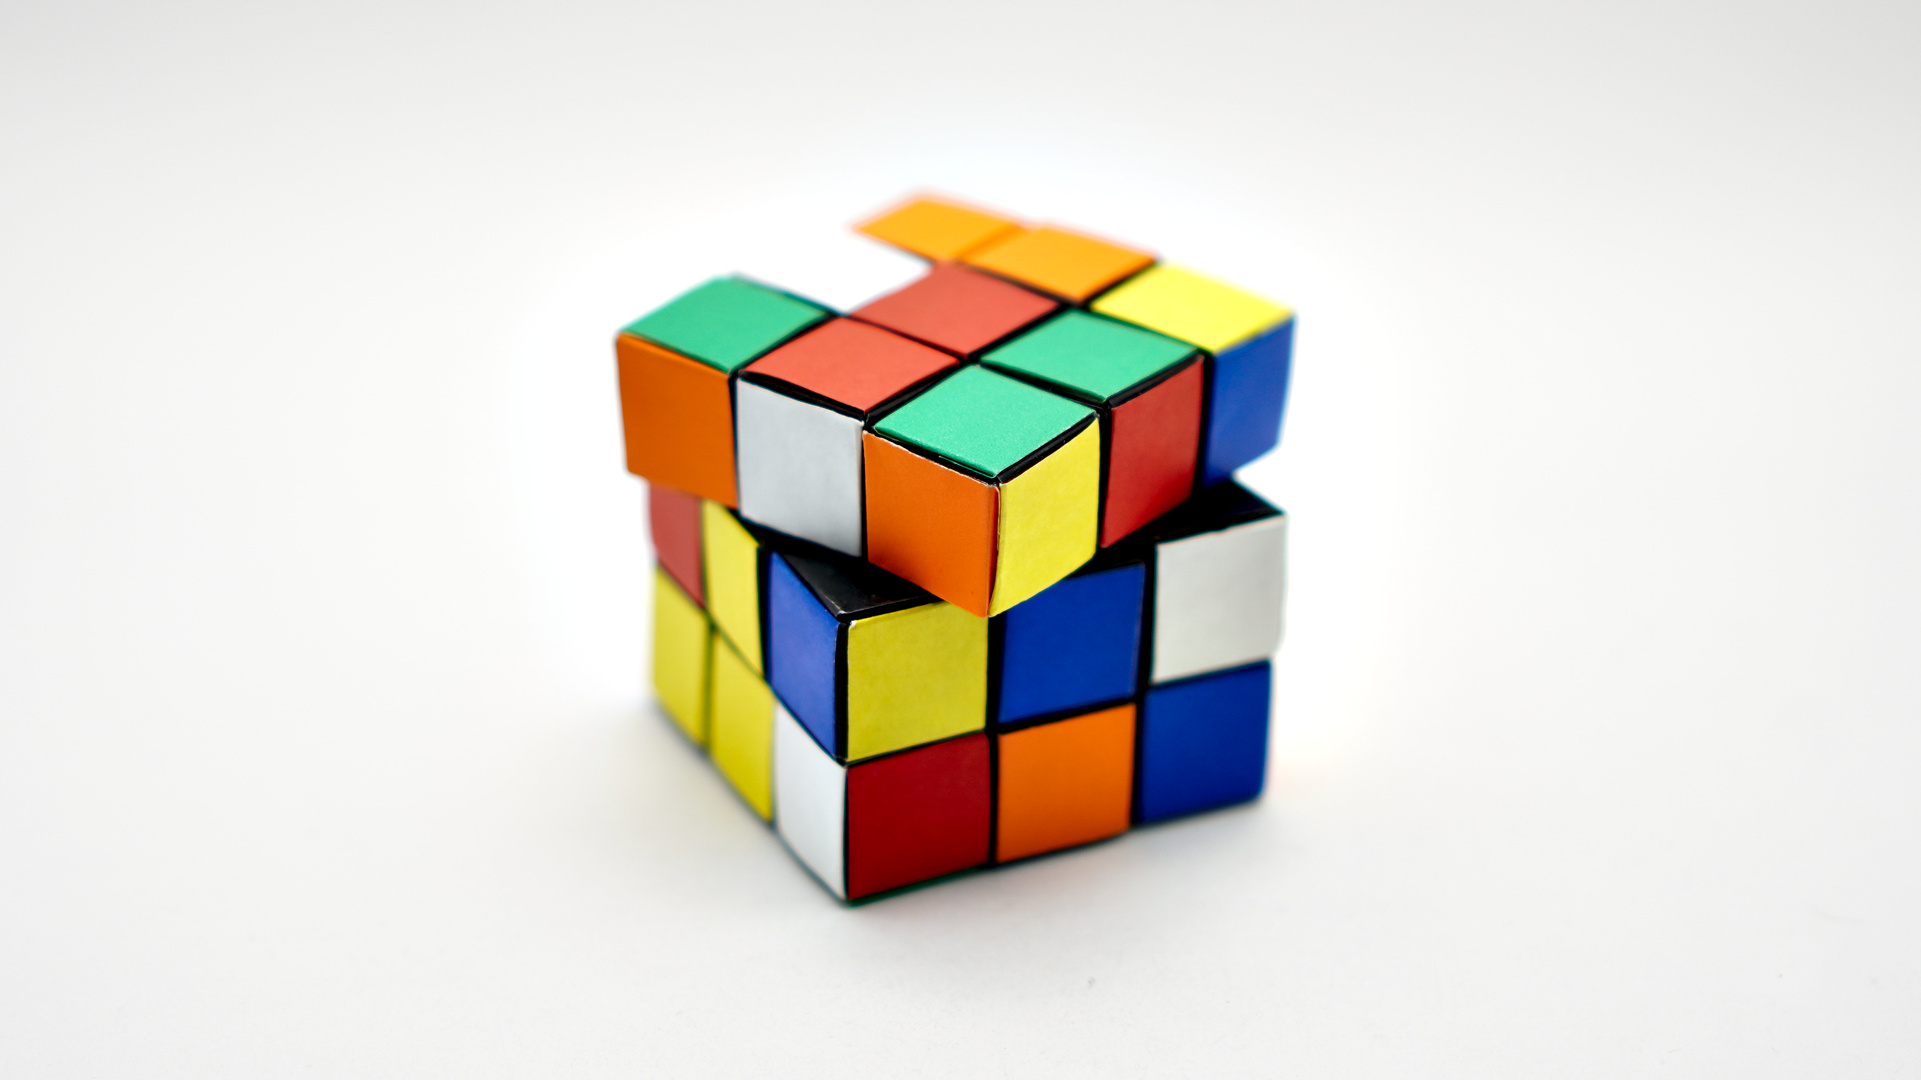
How to make a fully functional Magnetic Origami Rubik’s Cube
Designed by Jo Nakashima (09/2019)
Difficulty level: Intermediate
This is a modular origami and each cube is made from a single sheet of paper. The “stickers” are also origami units, all connected without glue.
To make it fully functional, I’ve attached magnets inside the cubes using double sided tape. If you prefer pure origami, see the first version (static).
Paper
I recommend using 9cm x 9cm origami paper. If you use larger sizes, the cube will be difficult to handle. This is the number of sheets you’ll need:
- 27 sheets for the cube units (black)
- 6 sheets for the “sticker” units (red, blue, green, yellow, white and orange)
Magnets
I’ve tried a variety of Neodymium magnets. I’m not sure if these are the optimal sizes, but worked for this project:
- 6mm diameter x 3mm thick = 12 units
- 5mm diameter x 1mm thick = 96 unit
If you don’t know where to get magnets, check out the replies in the first comment on my video to find links to different stores around the world.
The larger magnets connect the core unit to the center units of each side. They are stronger because they’re not supposed to be disconnected, they just need to allow the rotation.
Make sure you keep track of the polarity of the magnets before taping them to the paper. Pay close attention to the video because the magnetic origami Rubik’s Cube won’t work if you don’t position them correctly.
Helpful Videos
To make each cube you’ll need to fold a 5×5 grid on every sheet of paper. In the tutorial I show the “origami way” to do that, without a ruler or any kind of tool. However, there are easier methods and the videos below can help you in this task:
To cut the rectangles for the stickers units I recommend this paper cutter:
