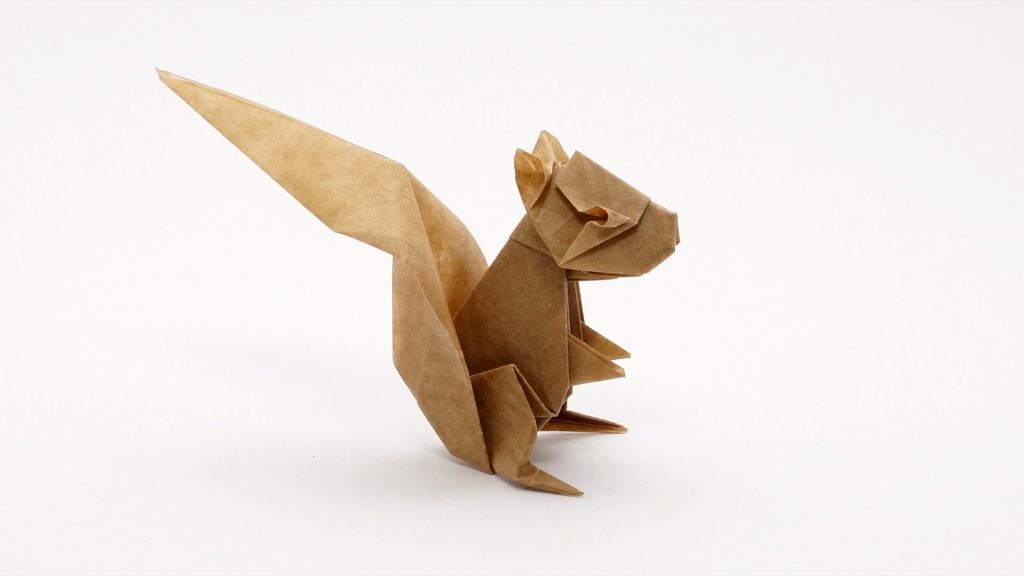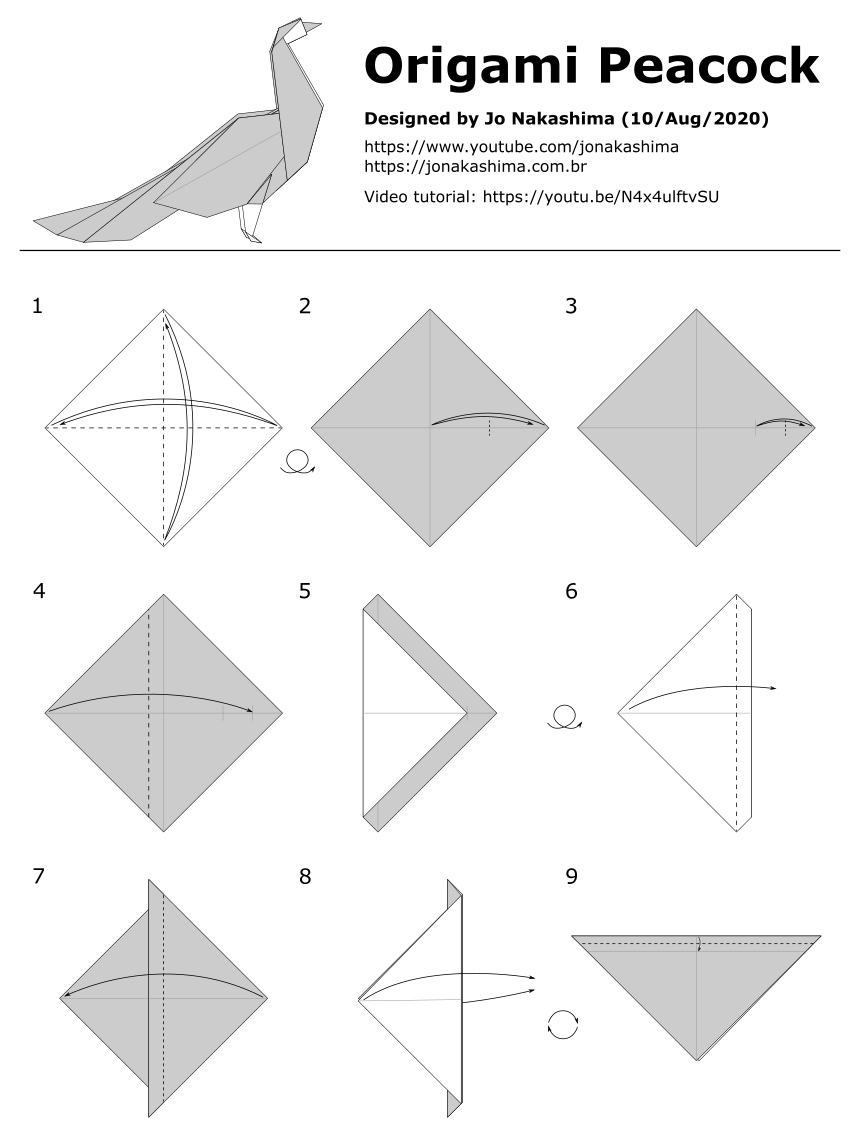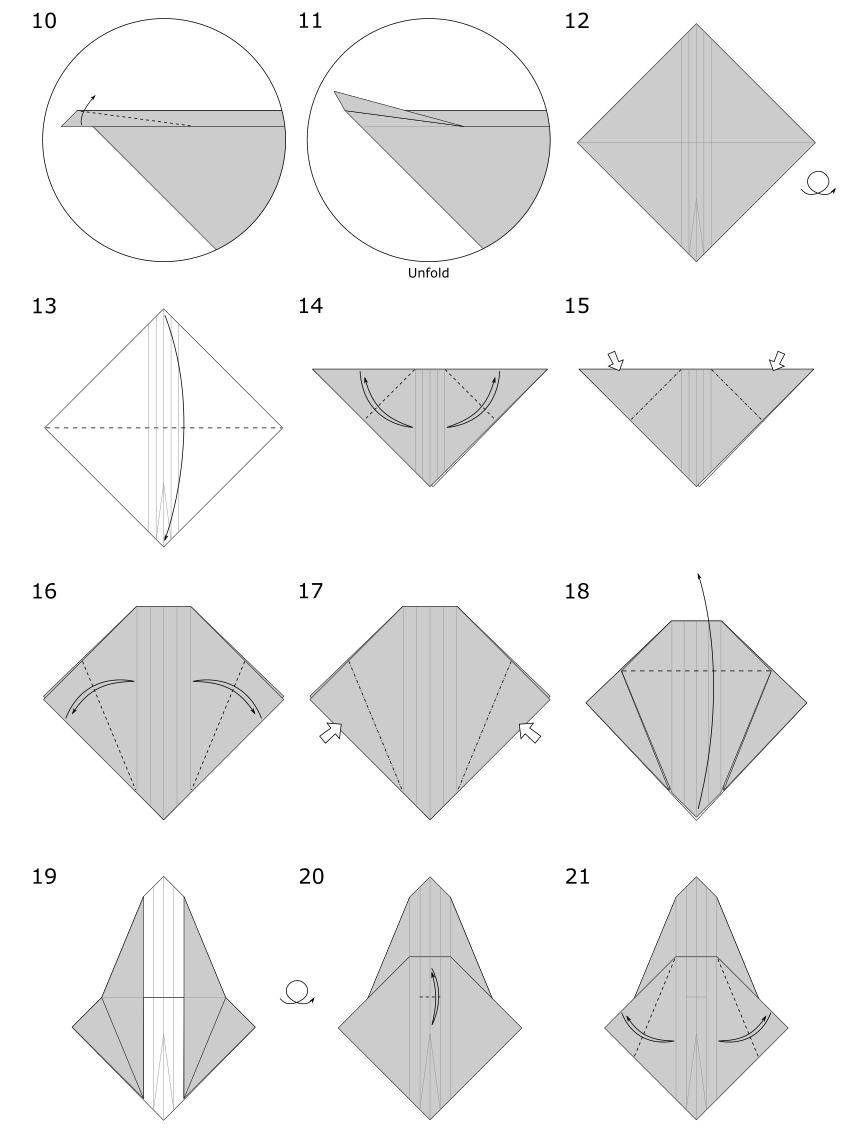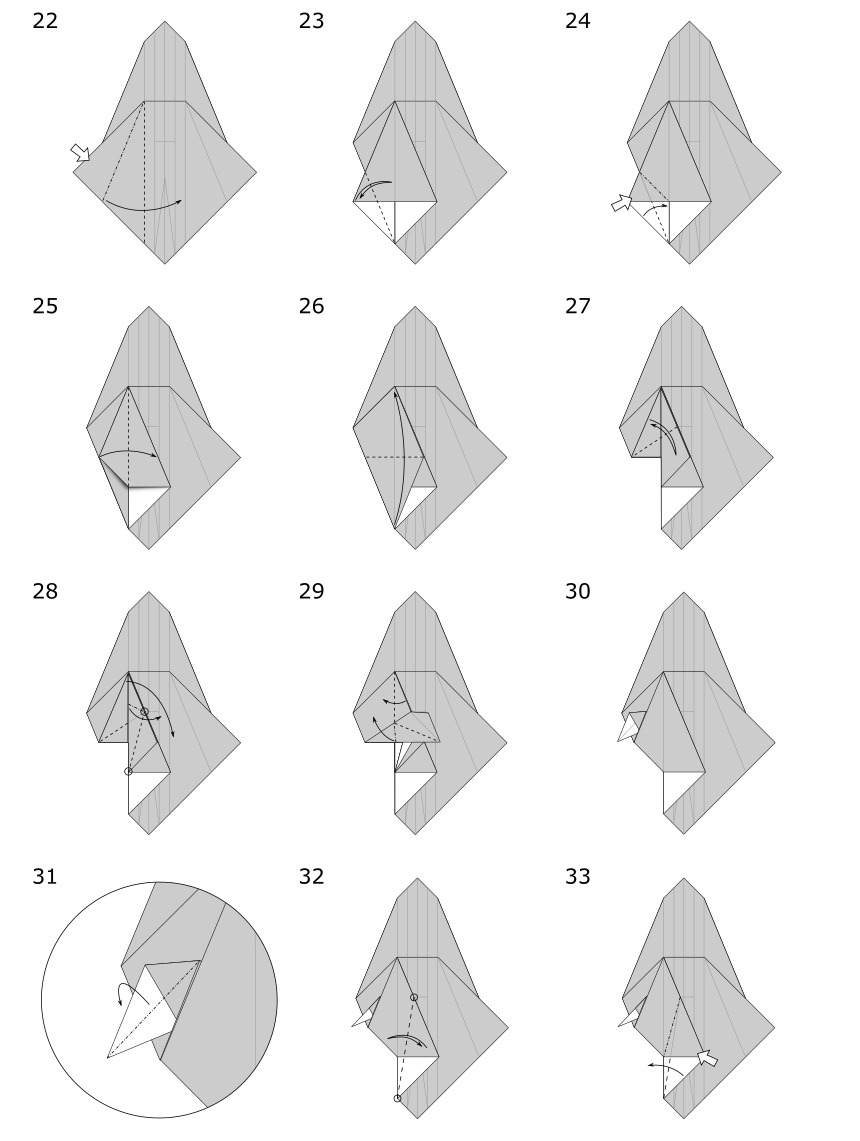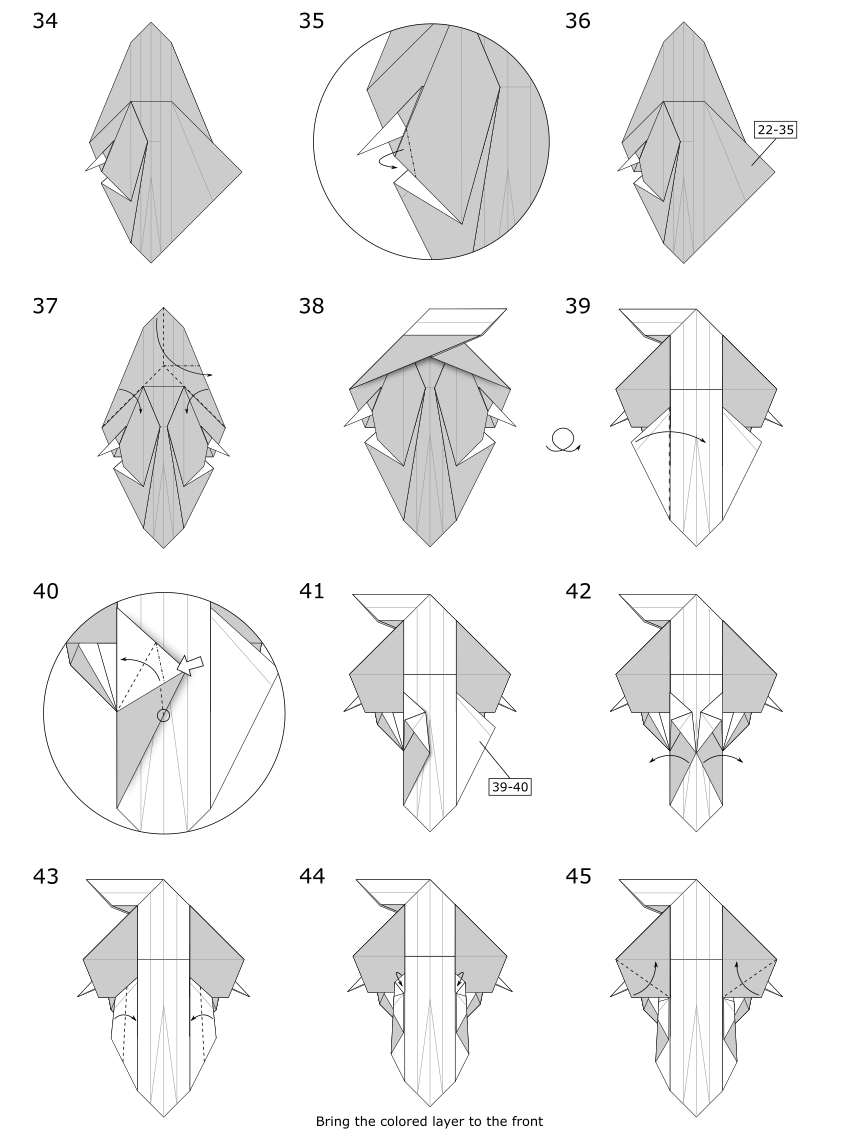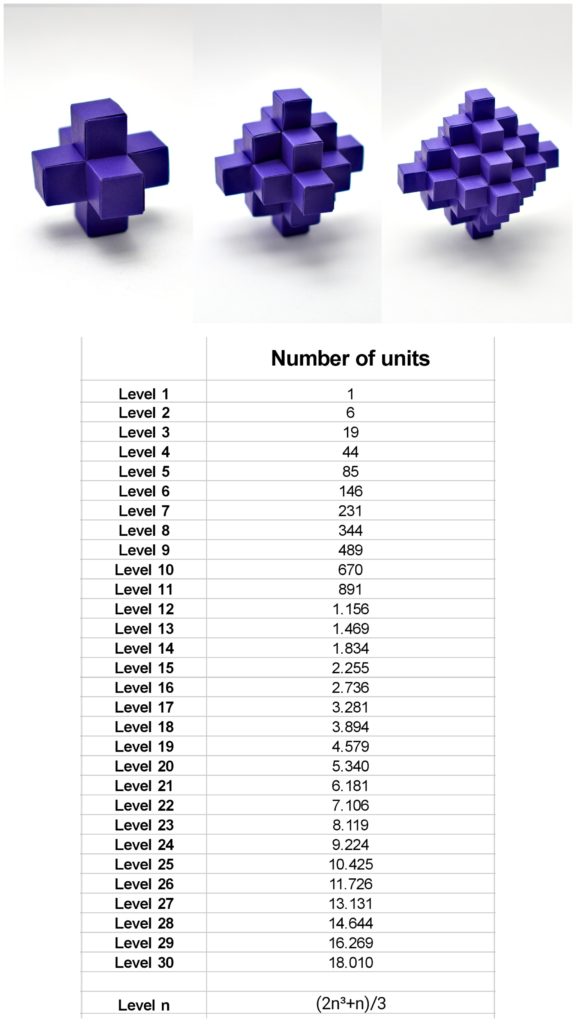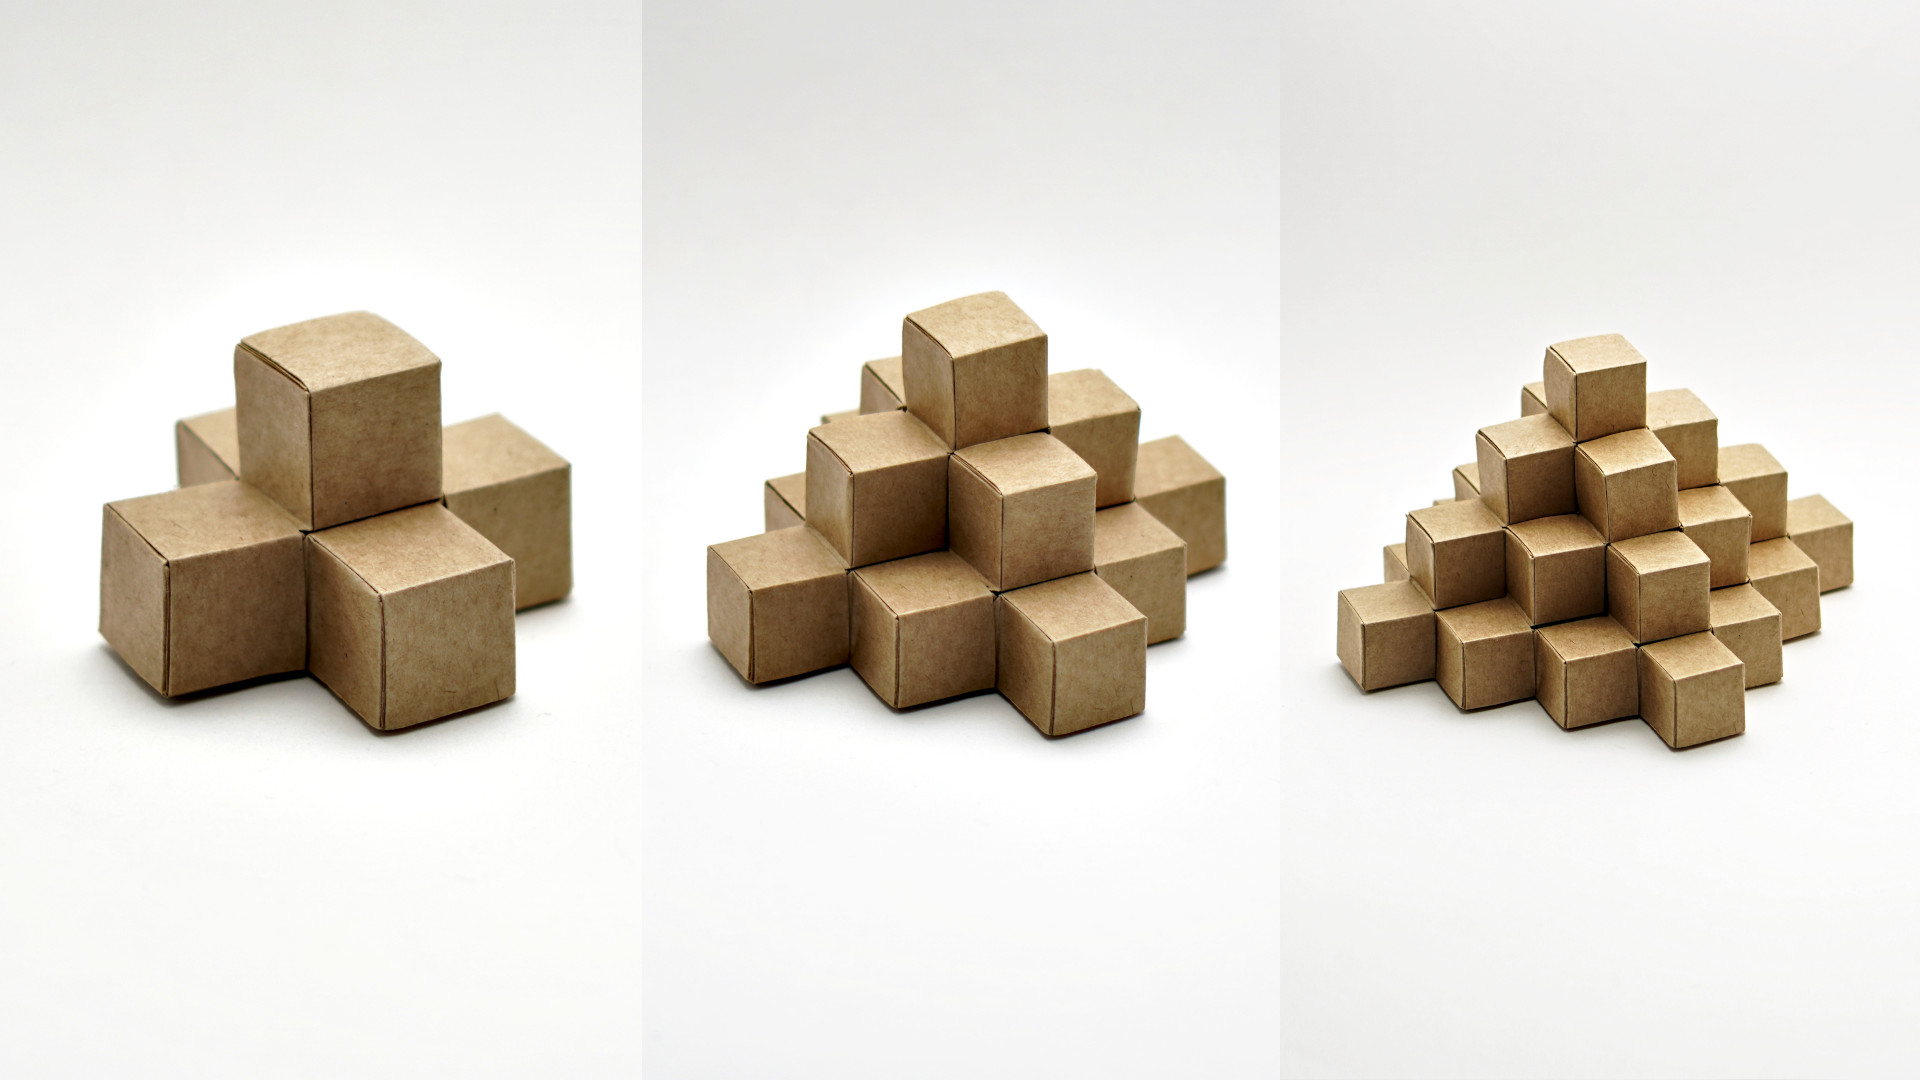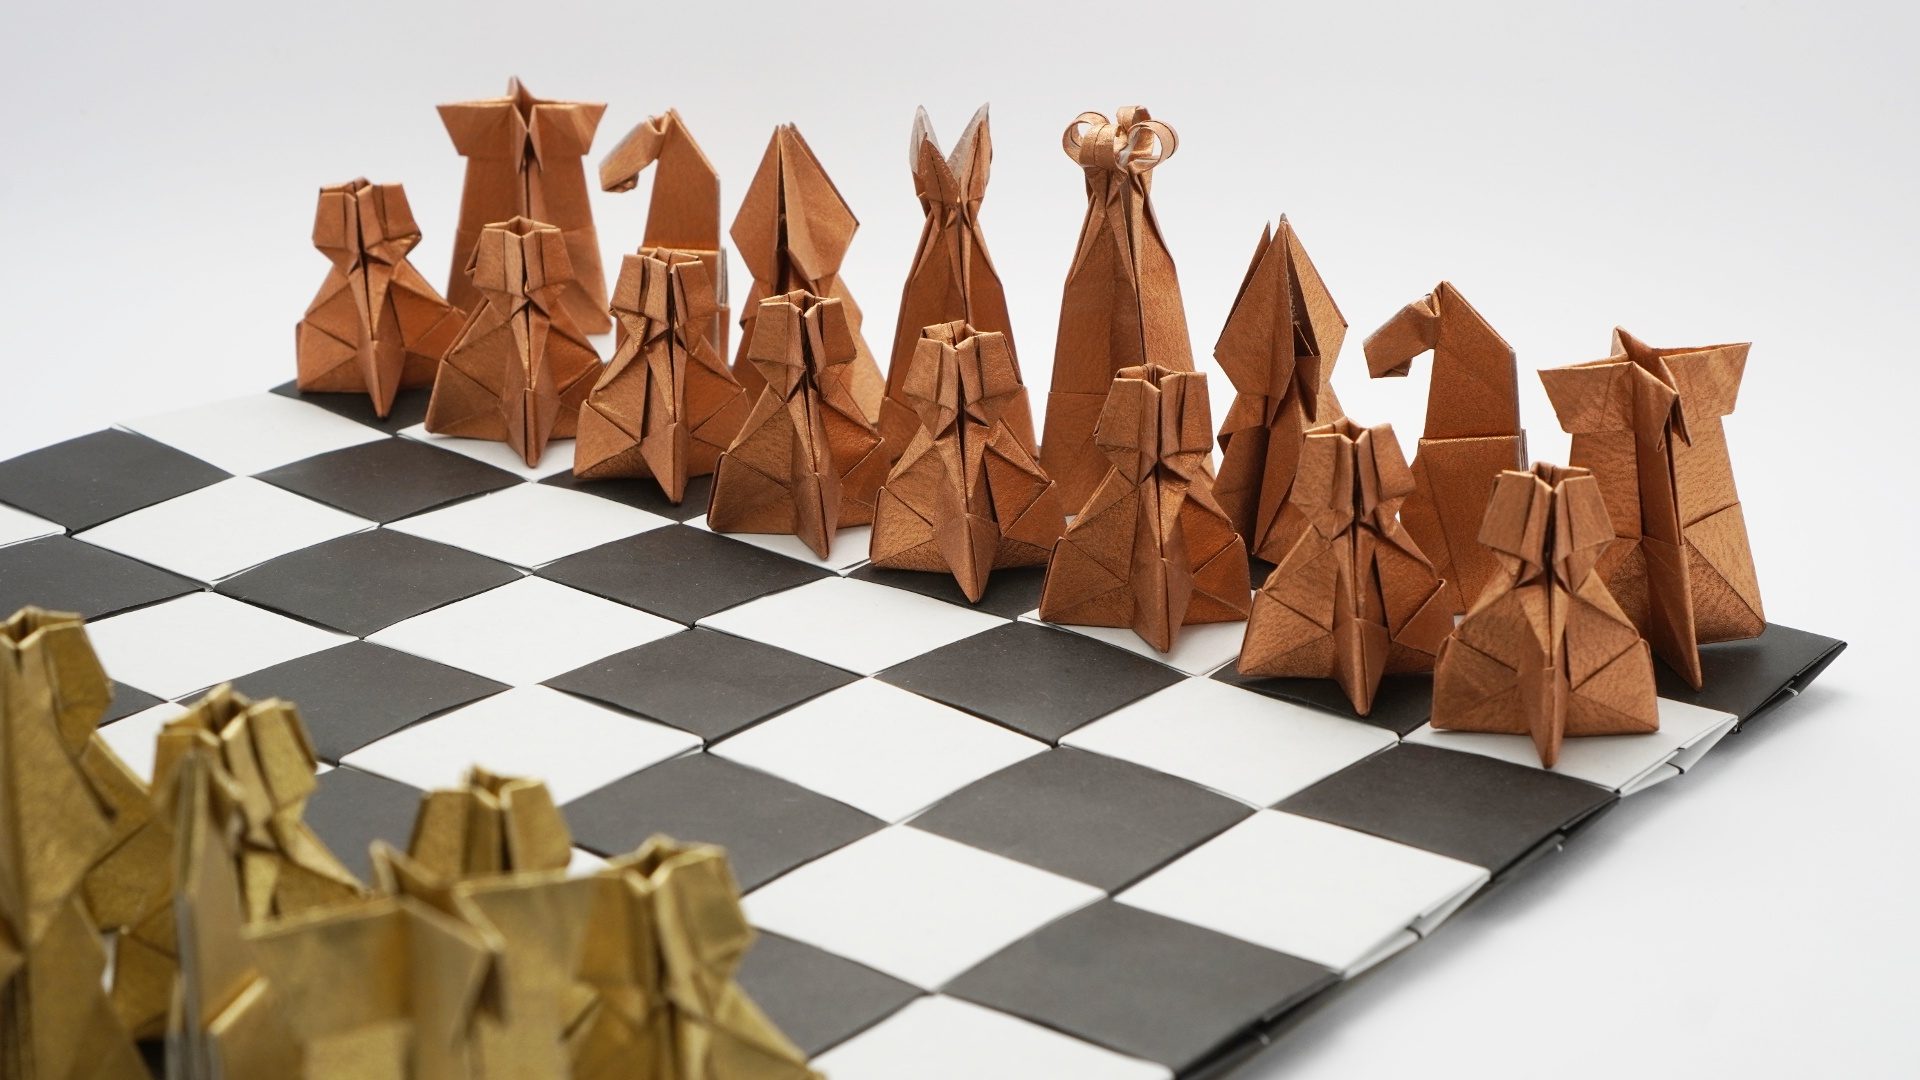
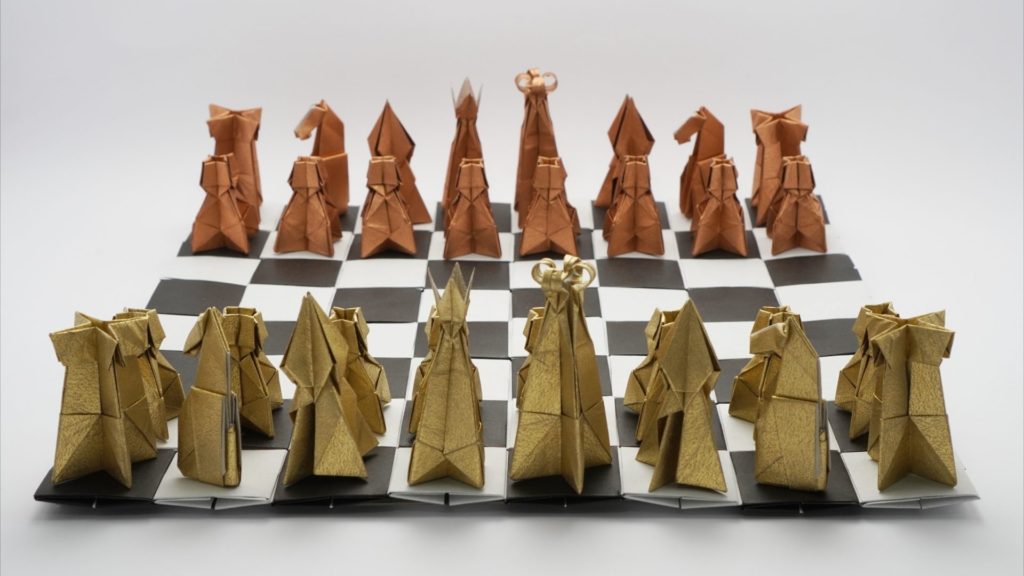
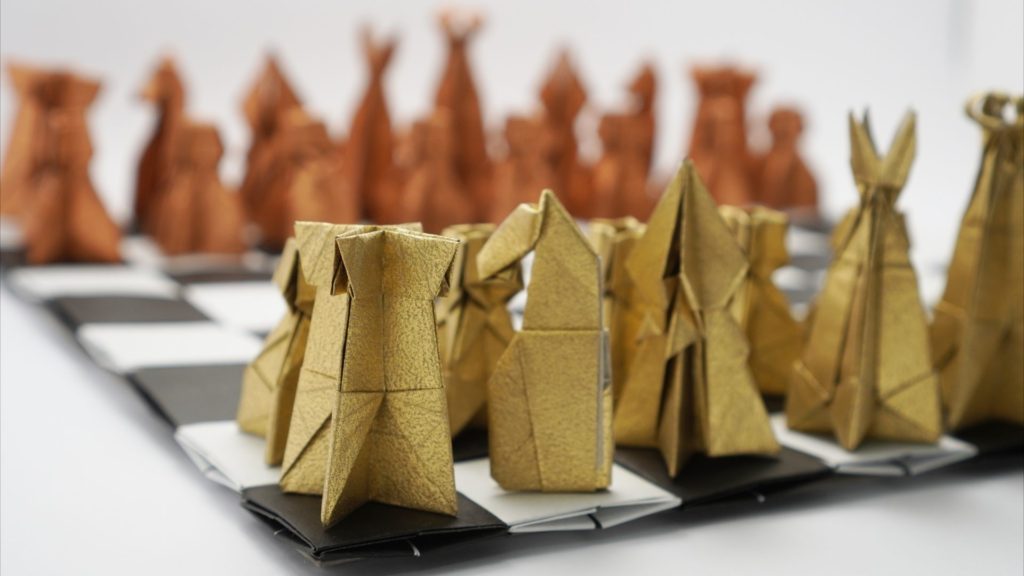
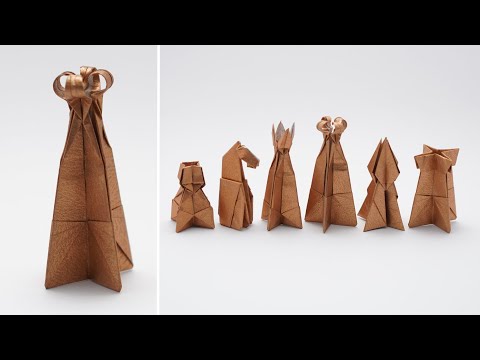
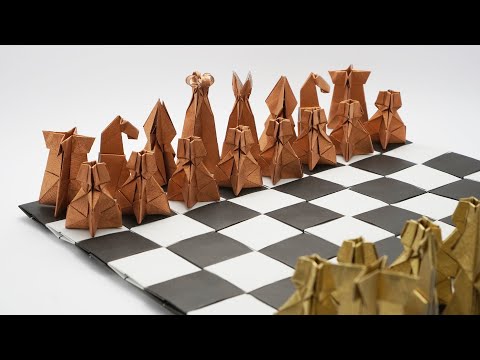
All you need to play chess is paper! In the series of videos below you’ll learn how to make the origami chess set. All the pieces are made from square sheets of paper with the same size. You can also make a chessboard using my origami Pixels.


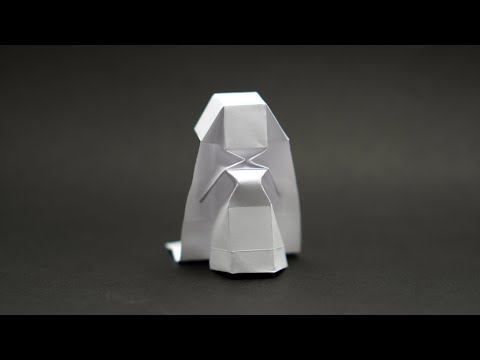
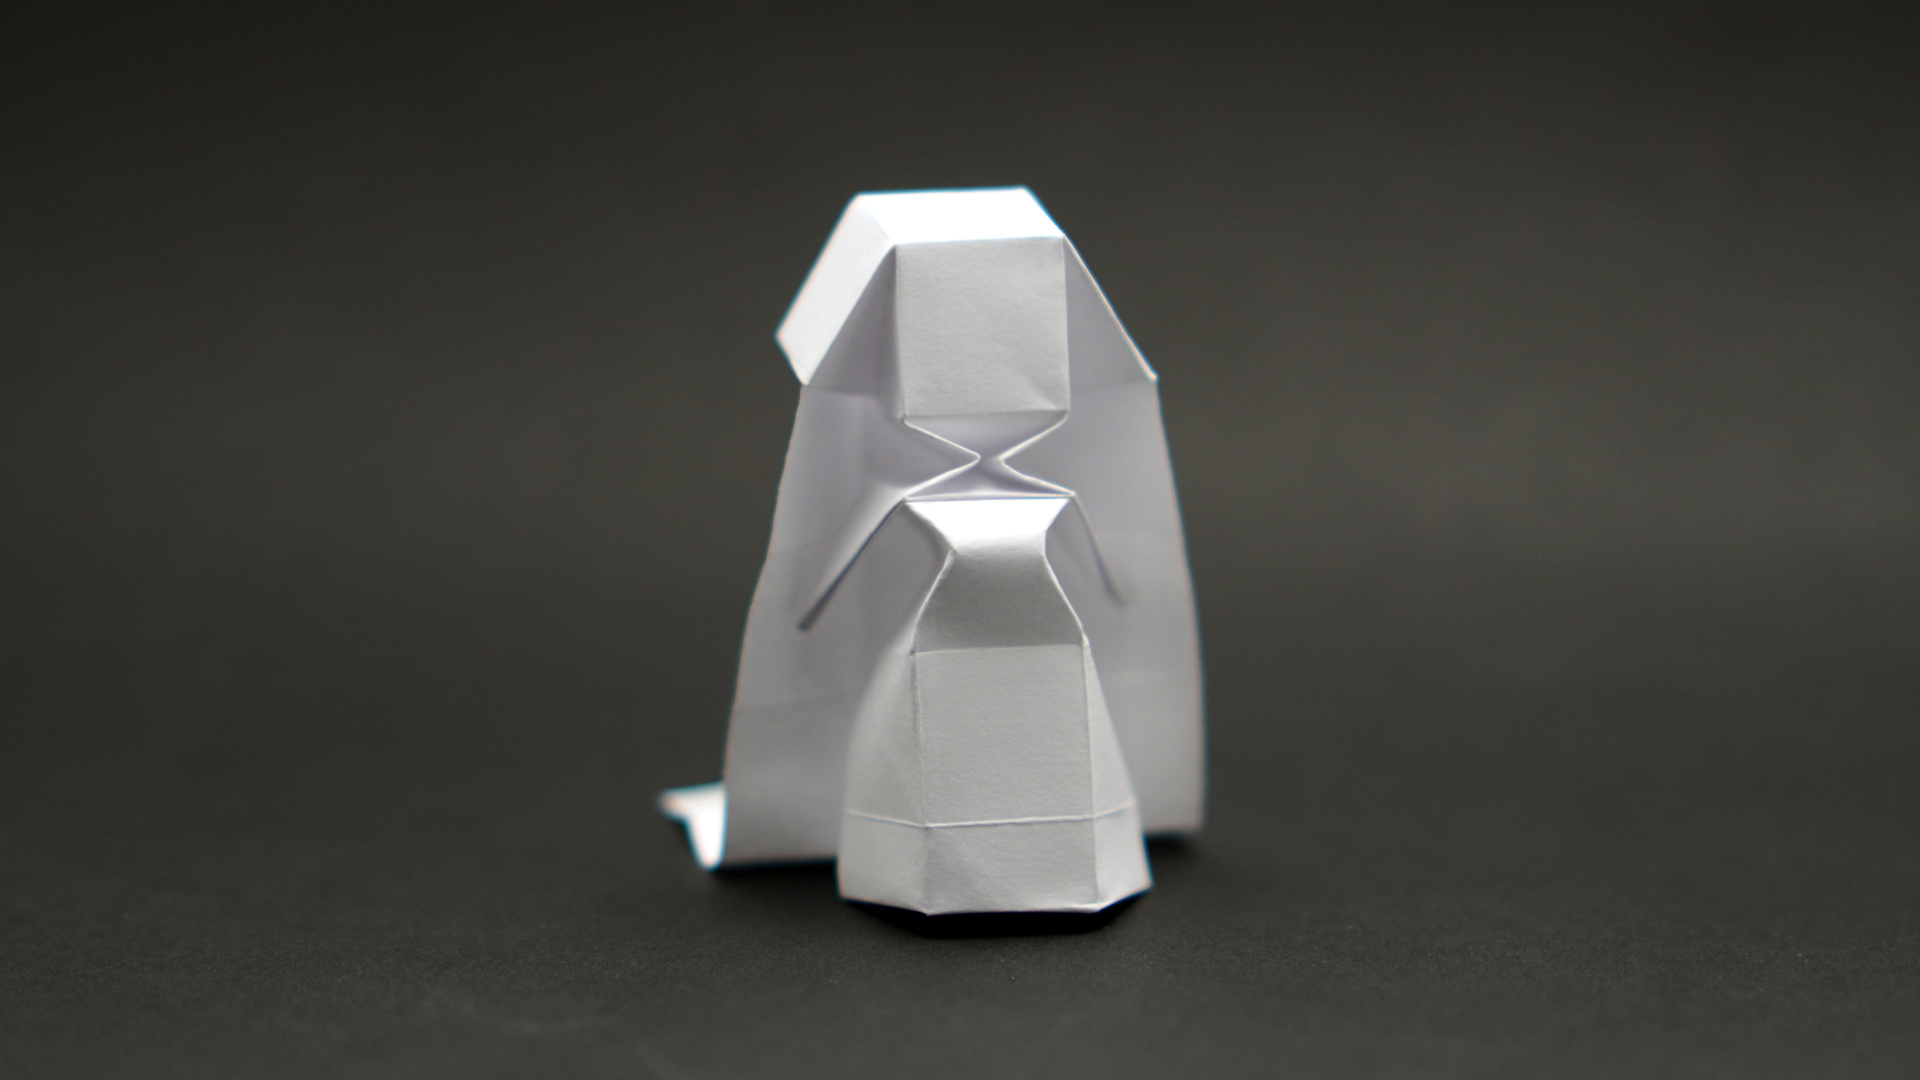
♙ Pawn

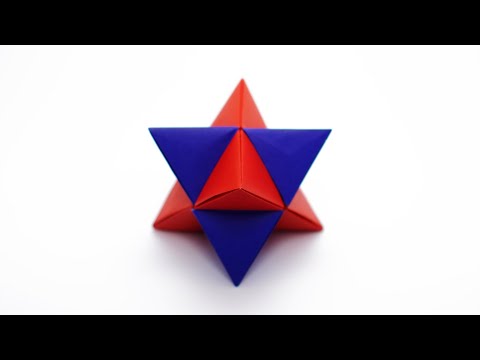
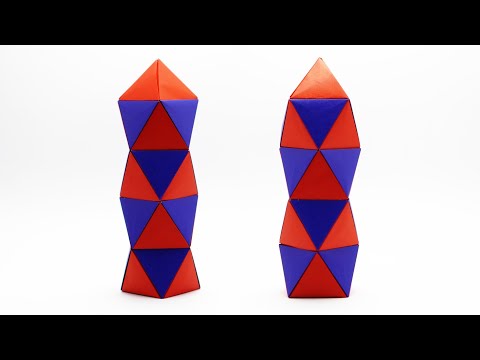
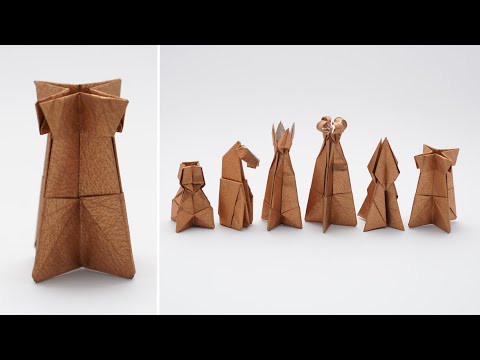
♖ Rook
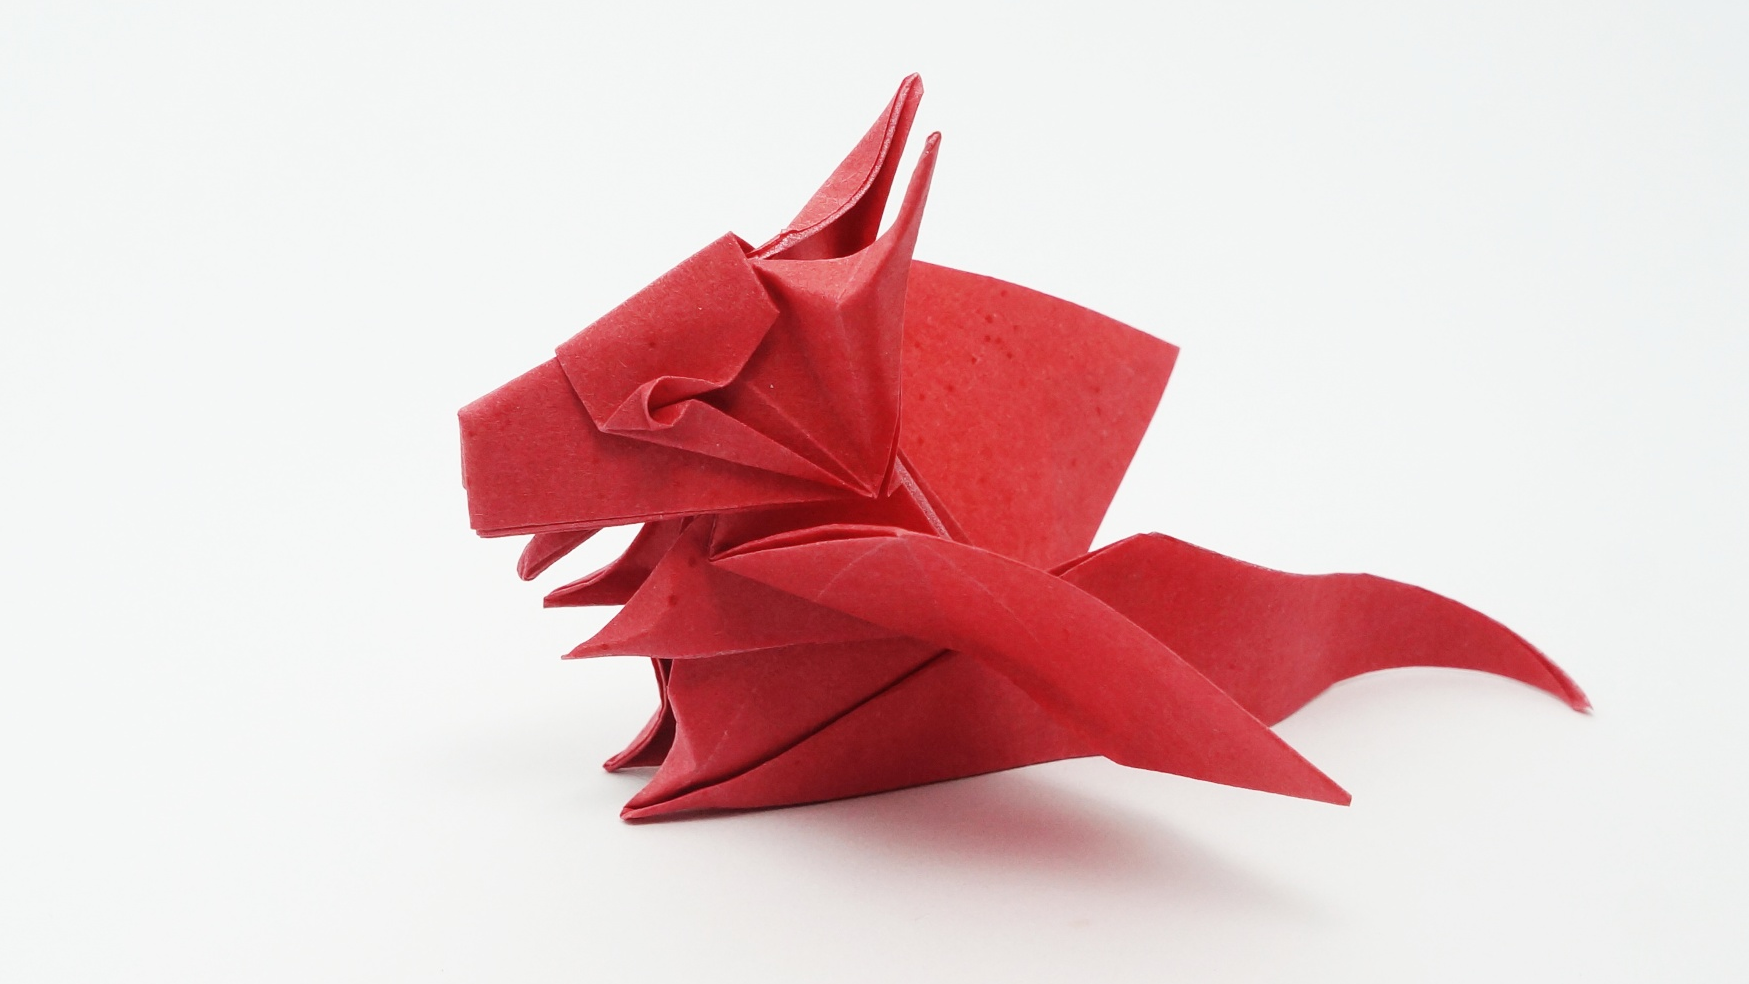
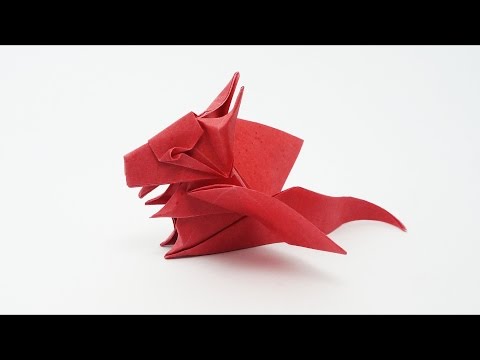
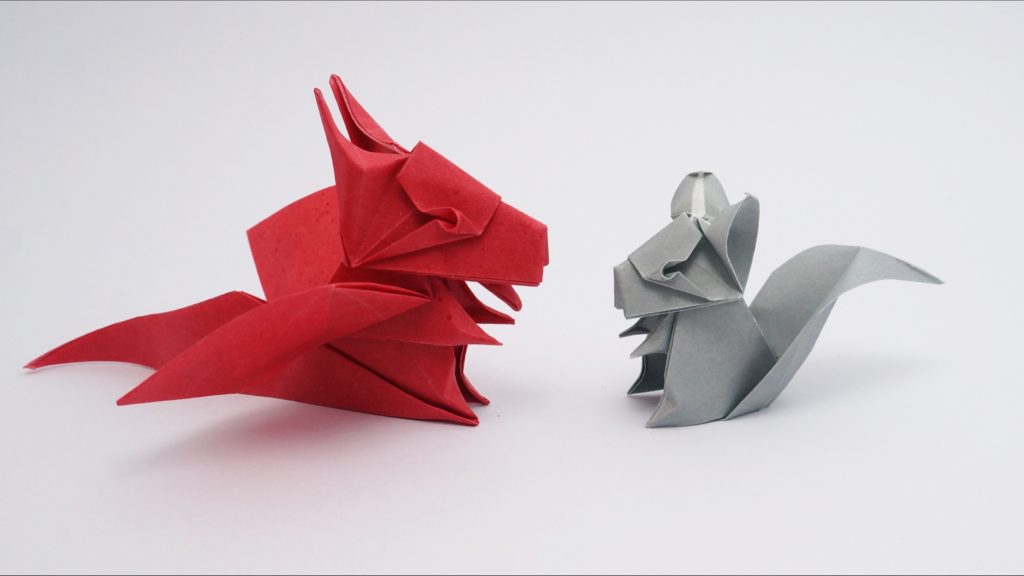
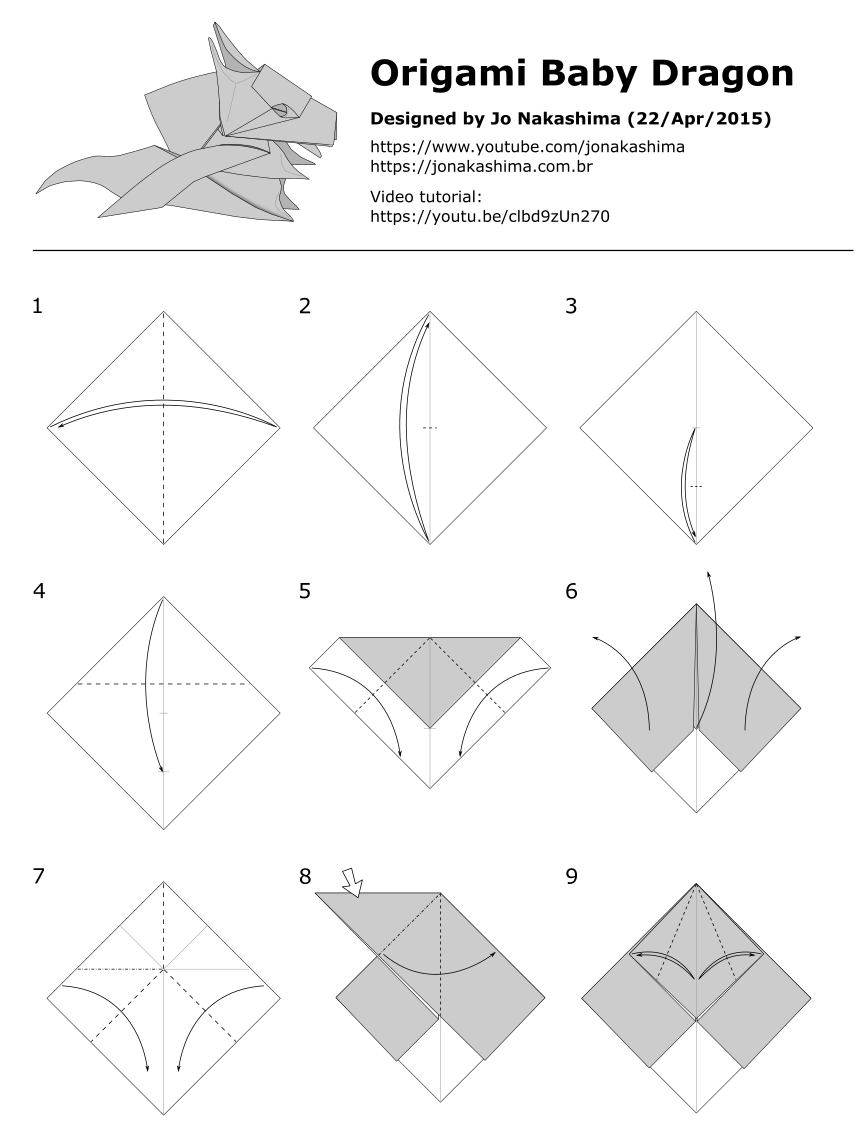
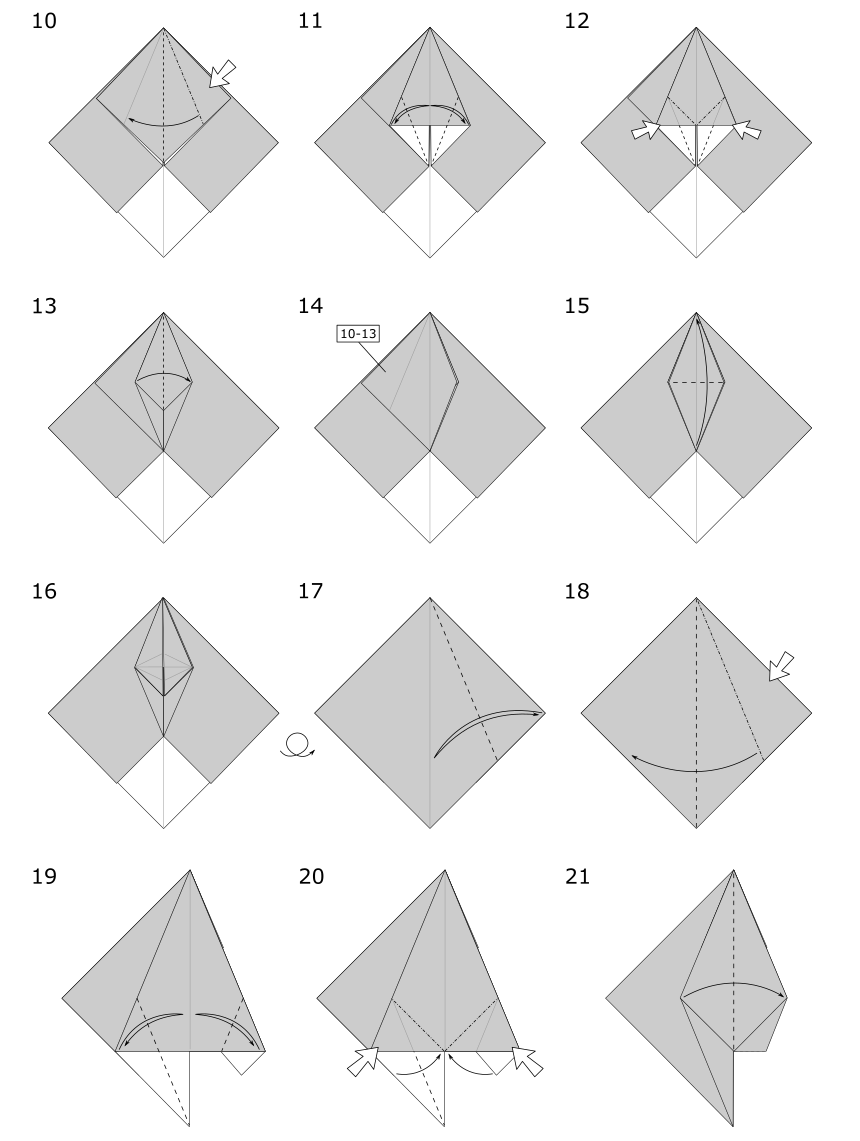
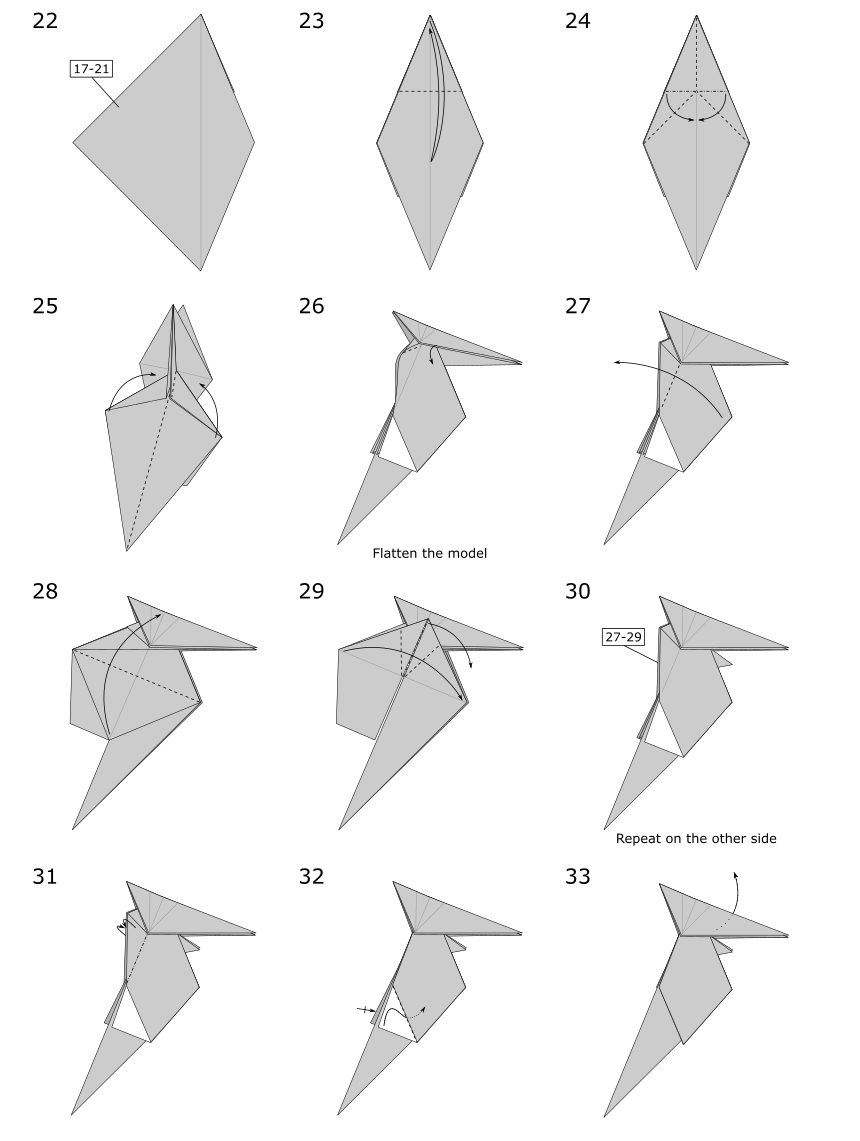
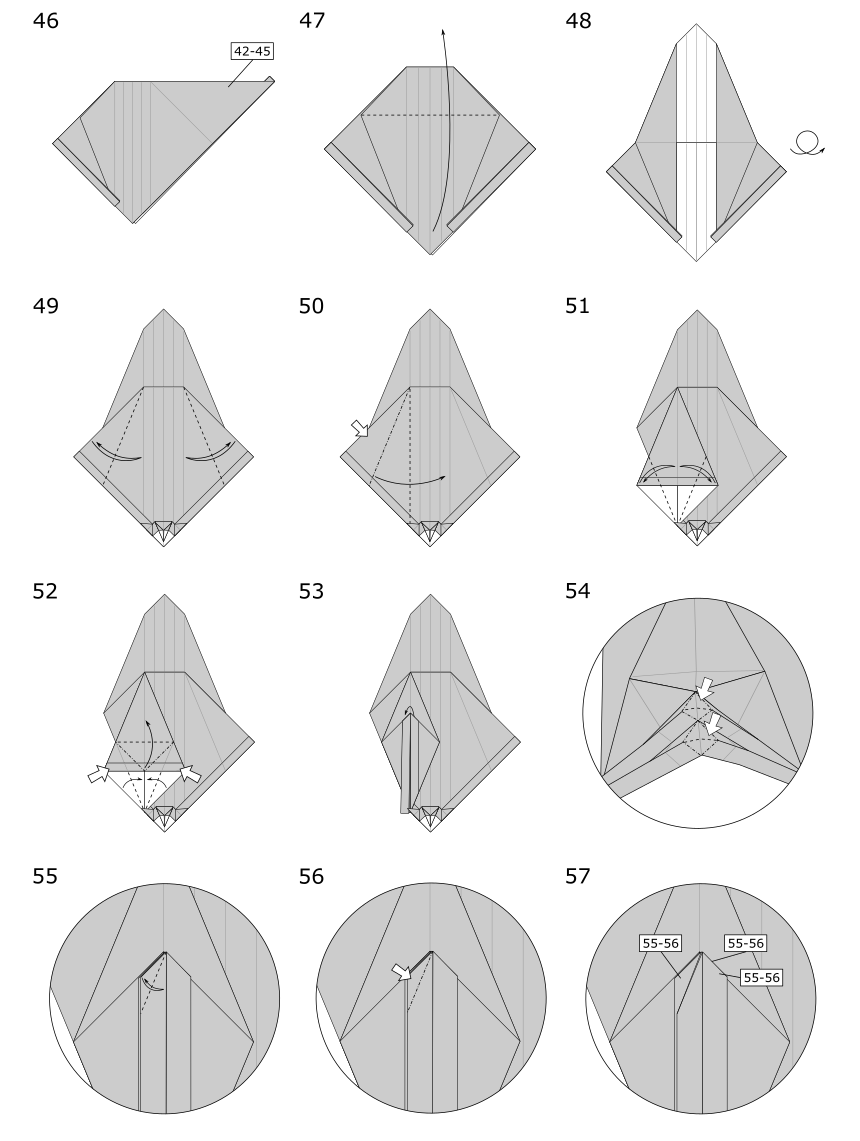
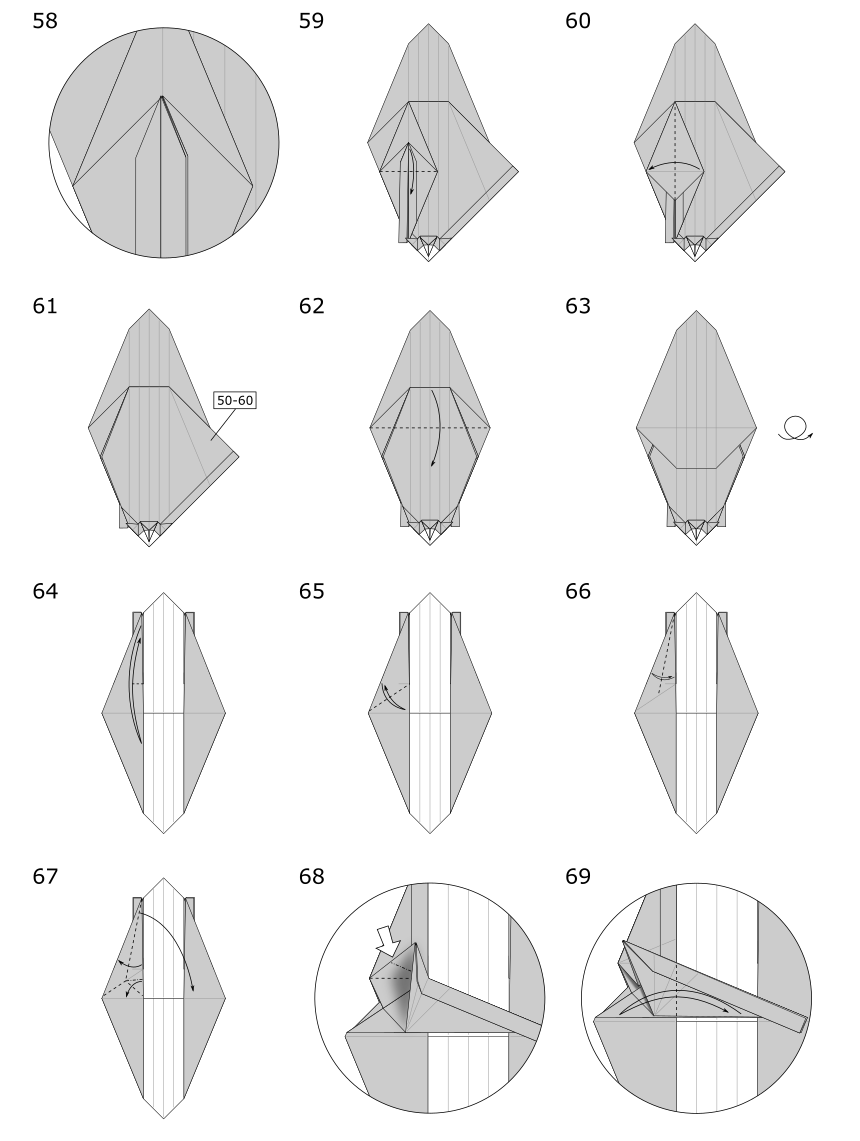
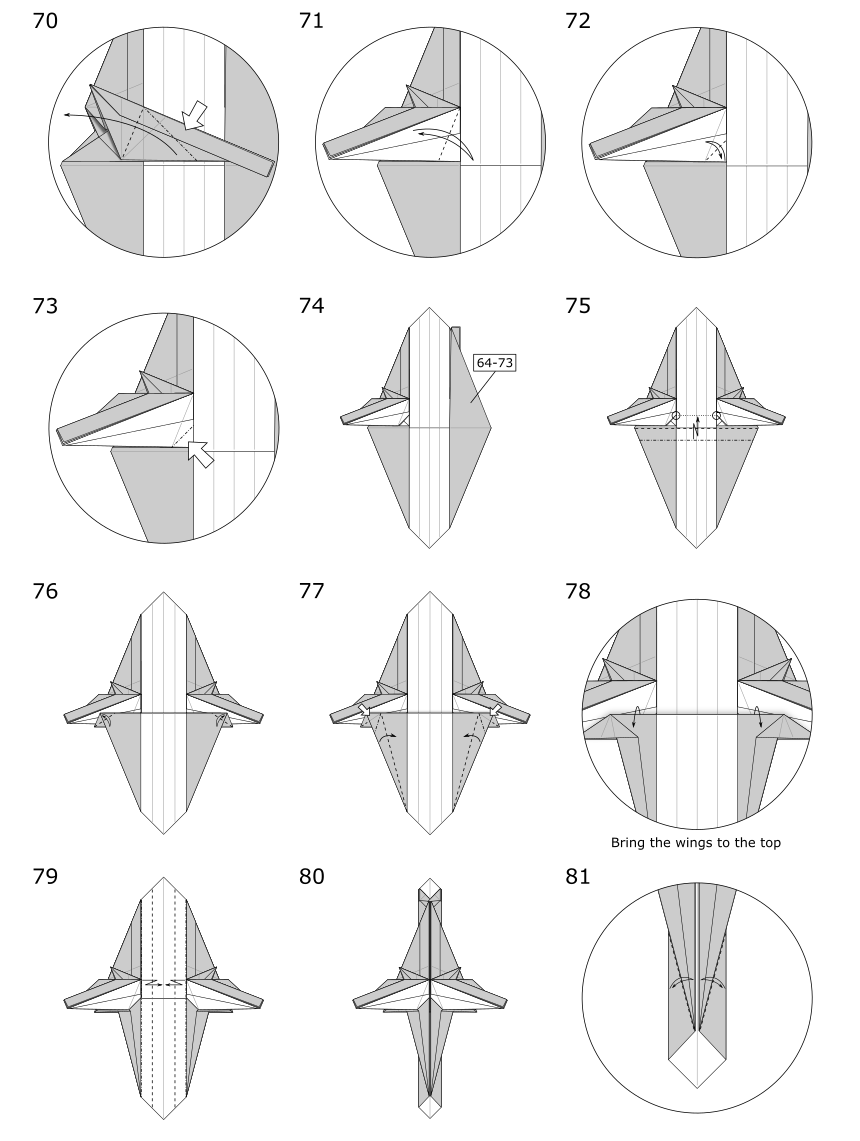
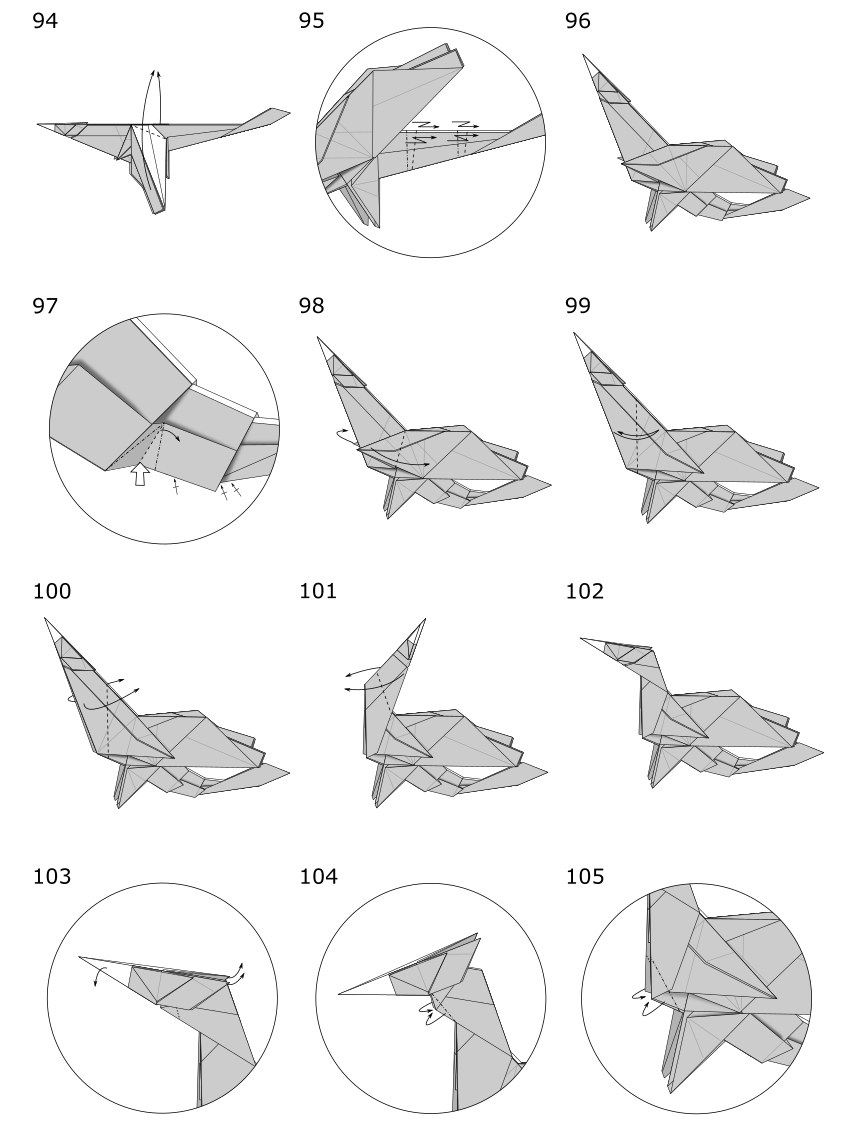
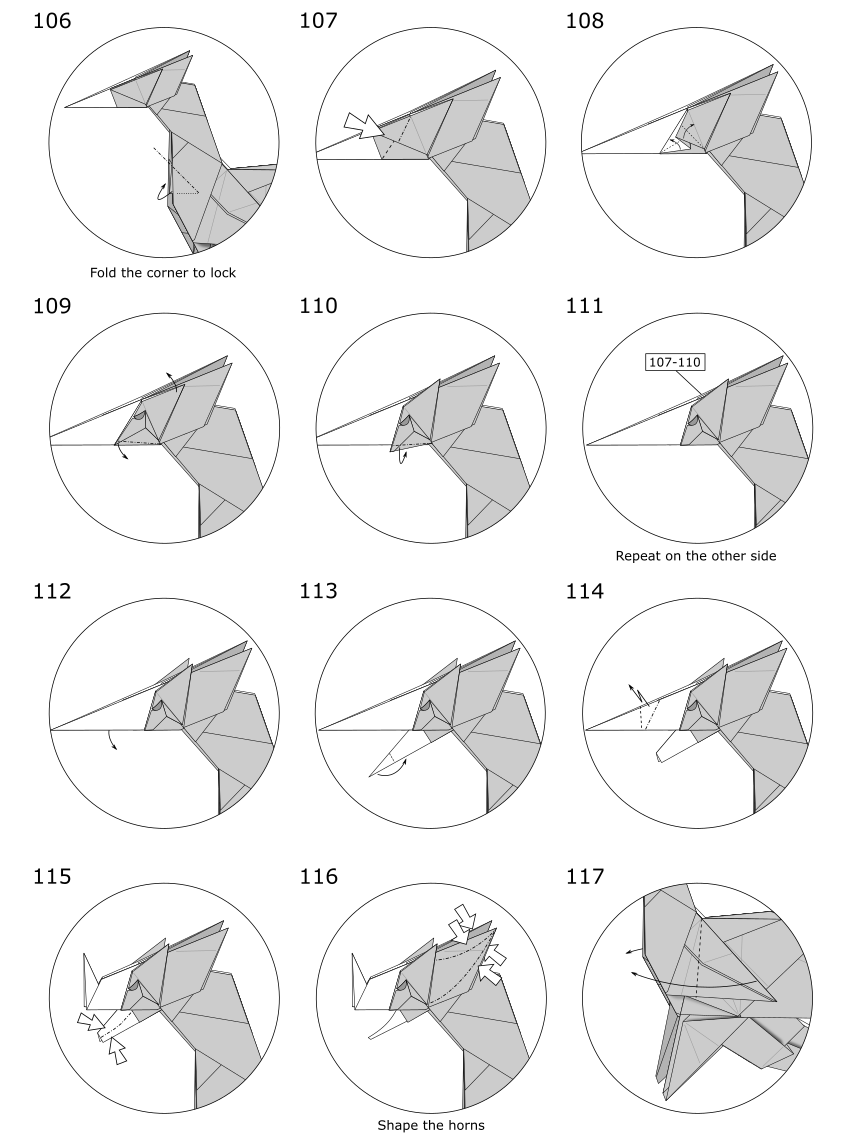
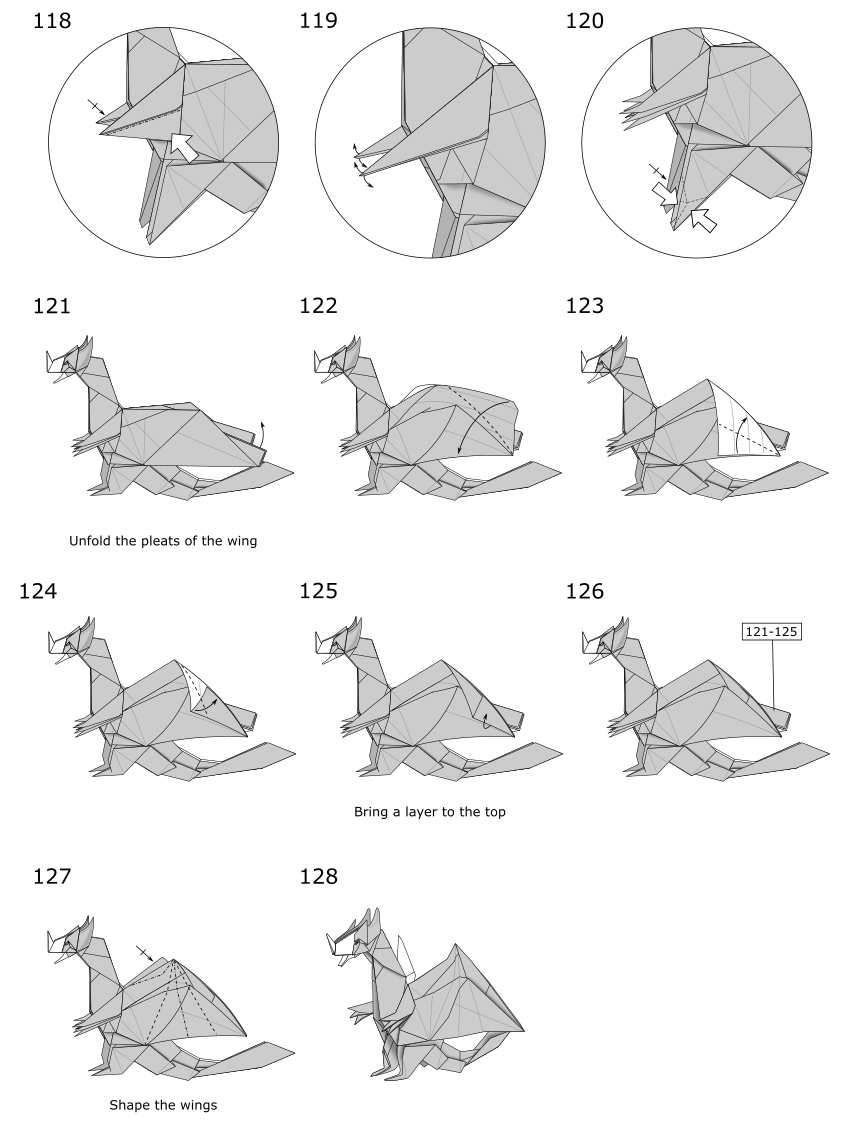
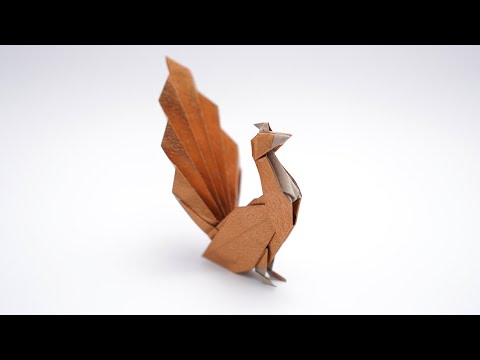
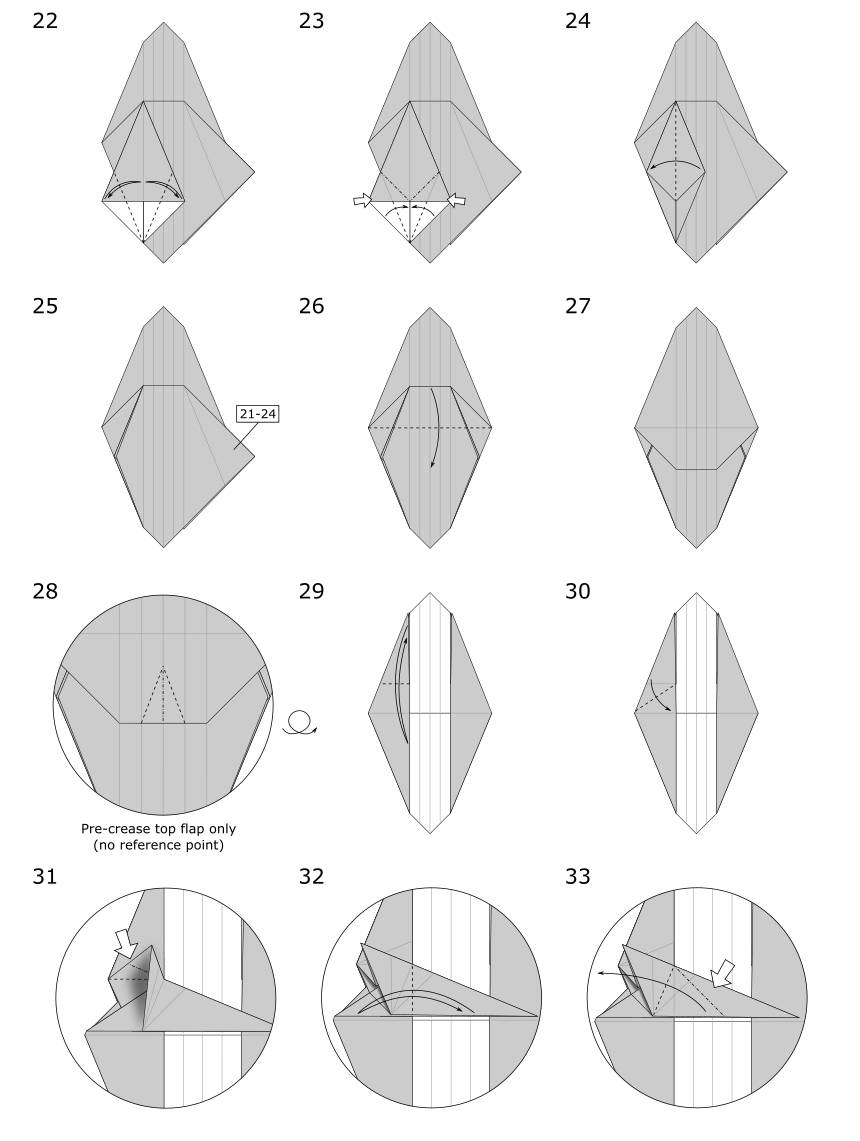
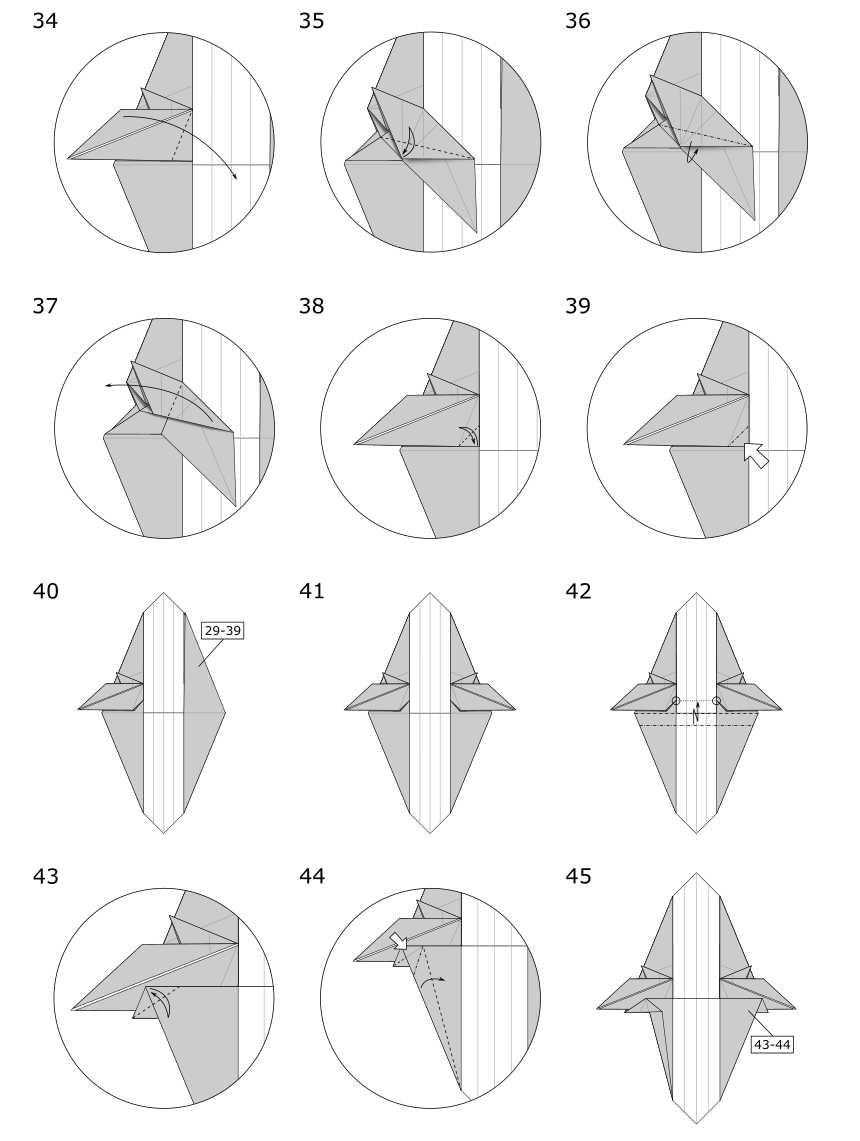
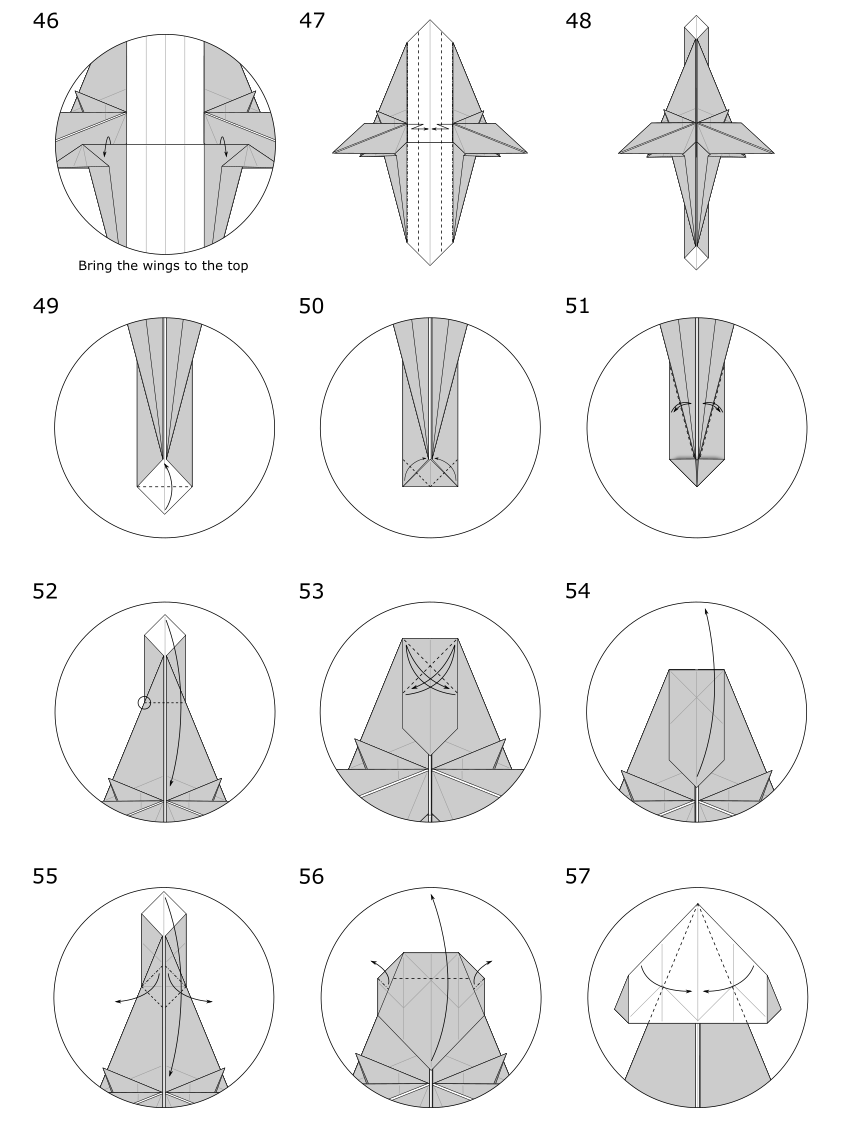
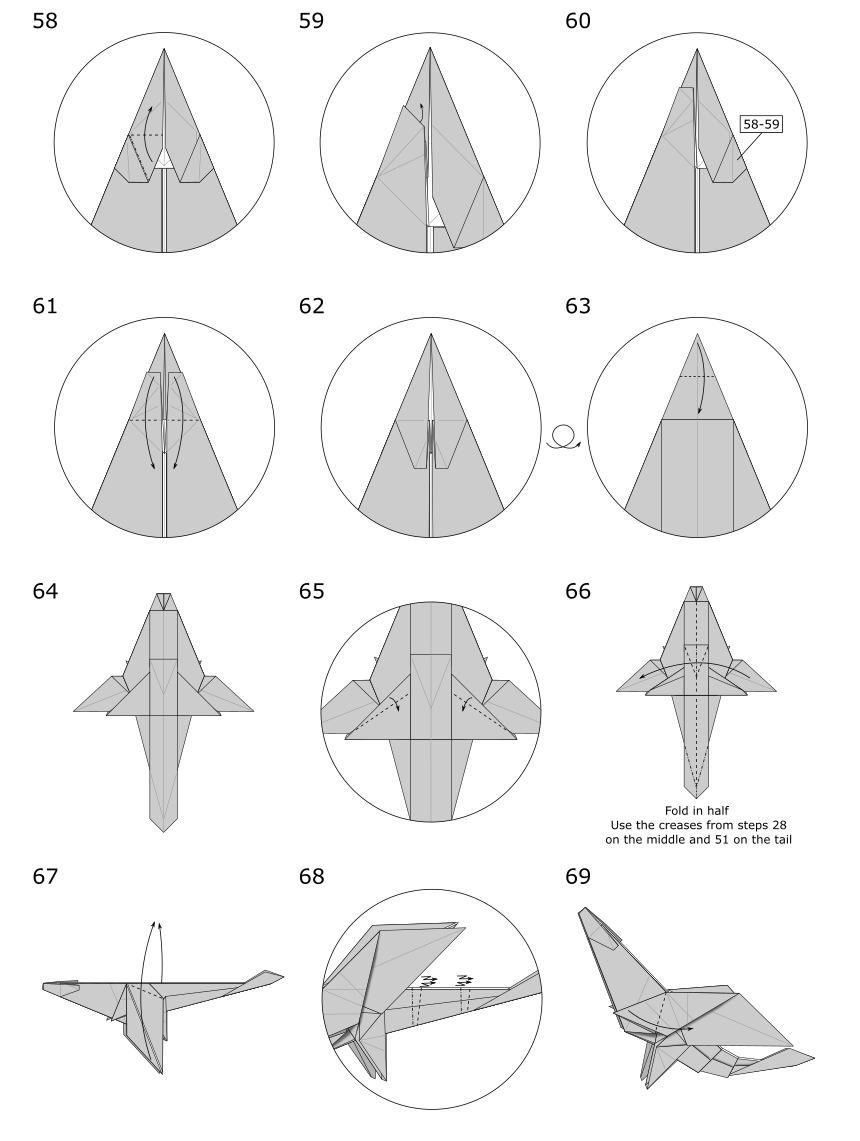
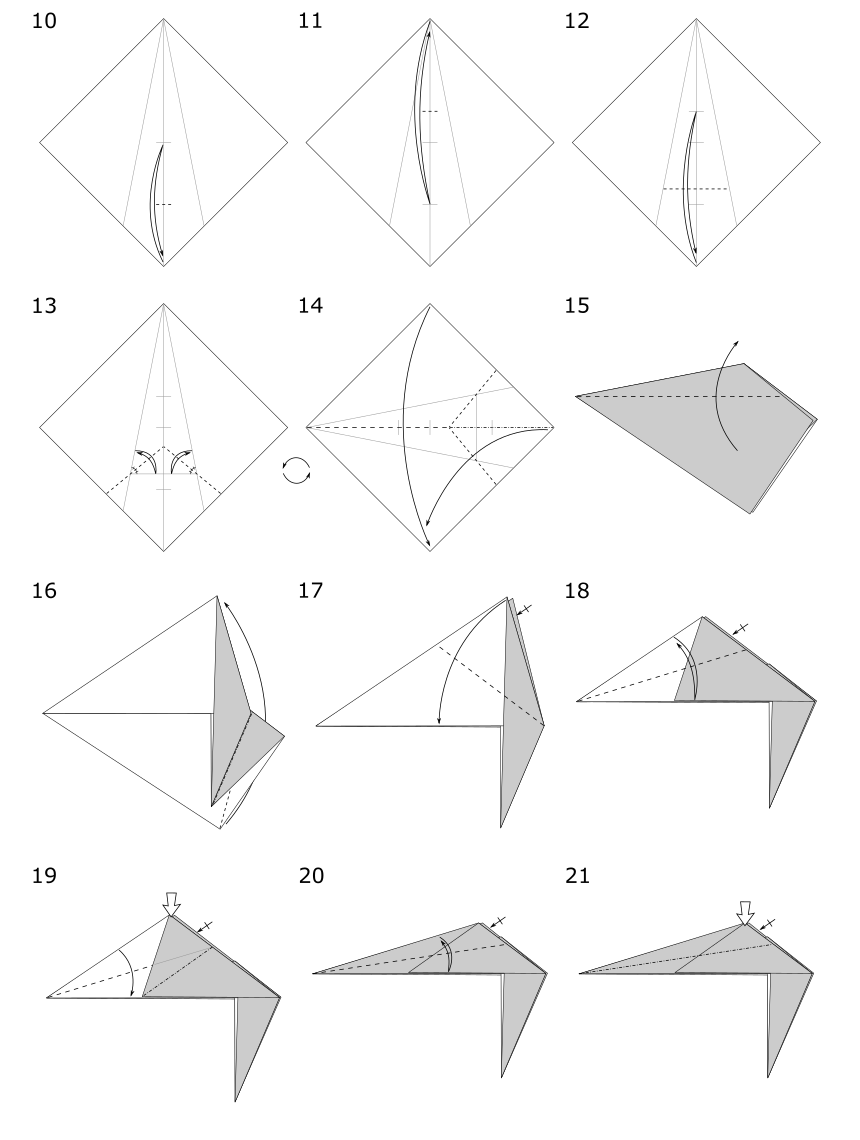
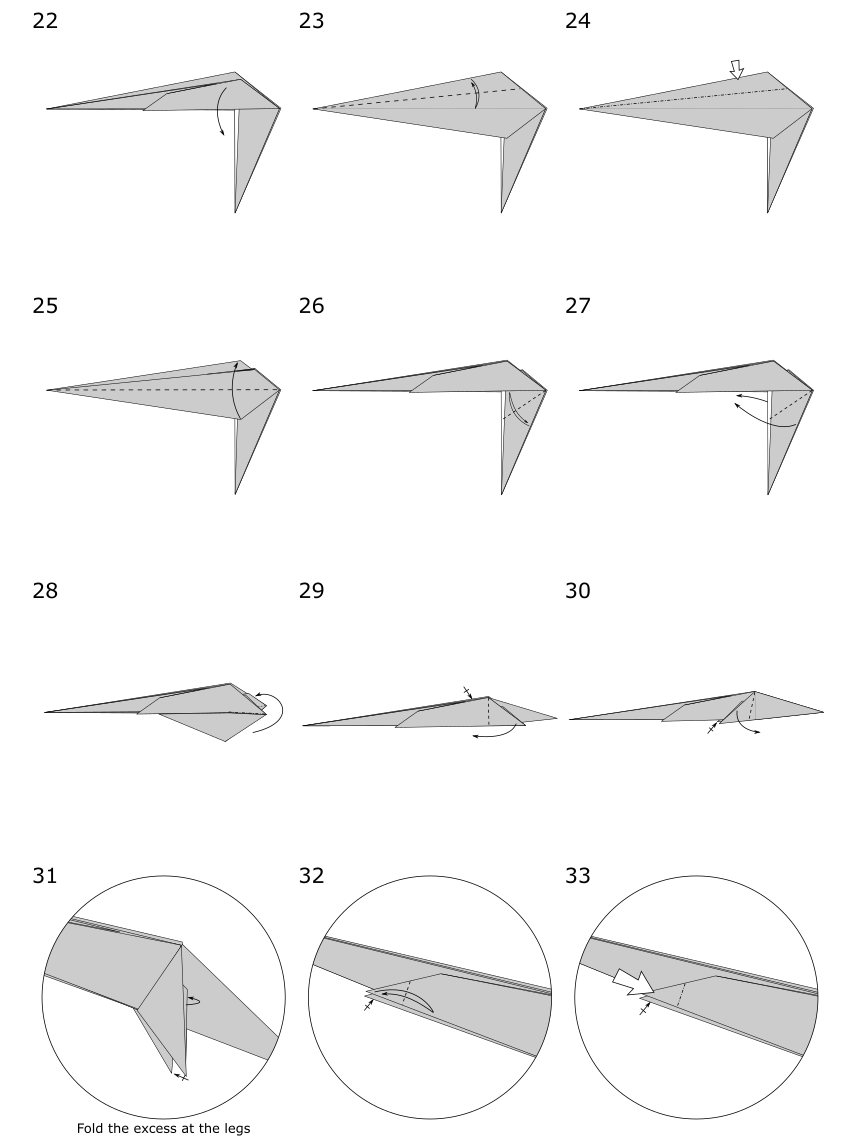
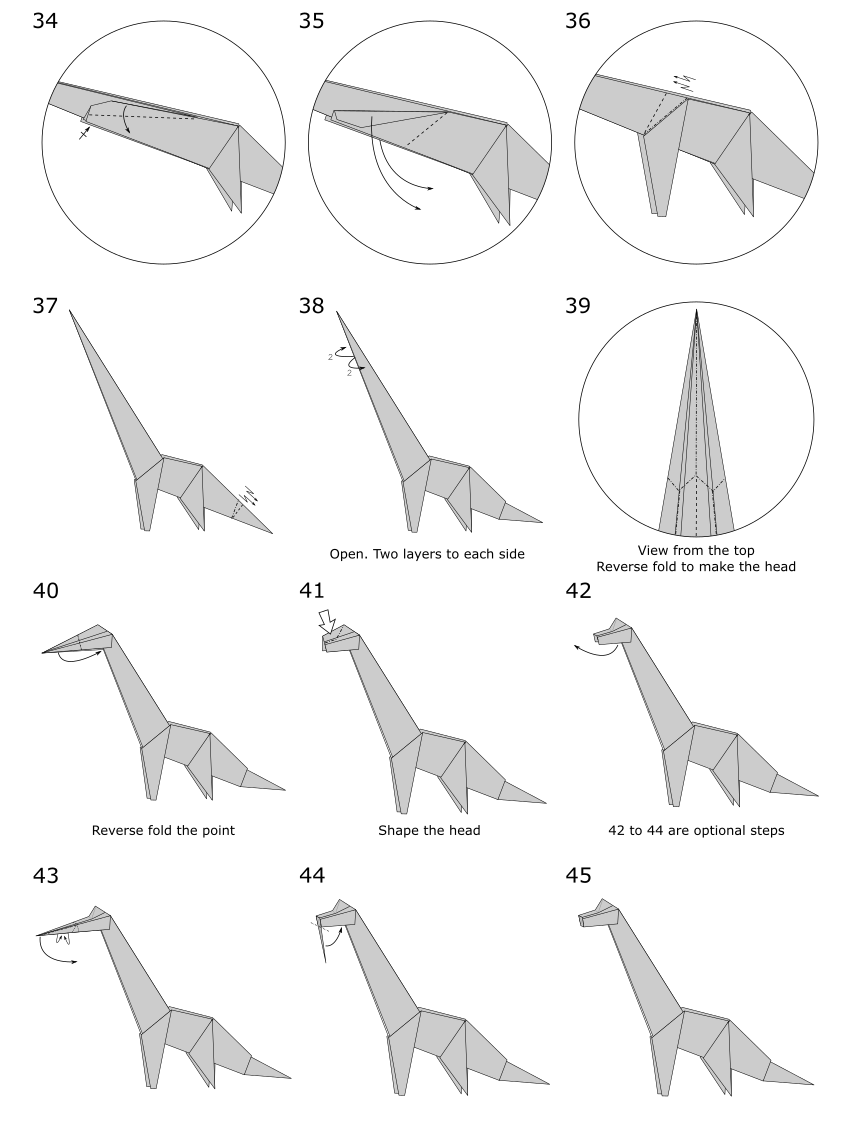
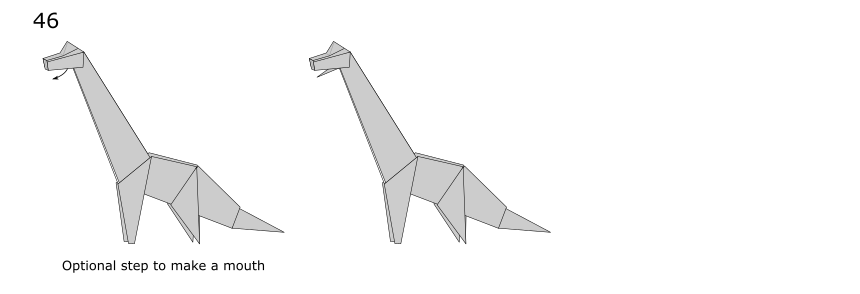
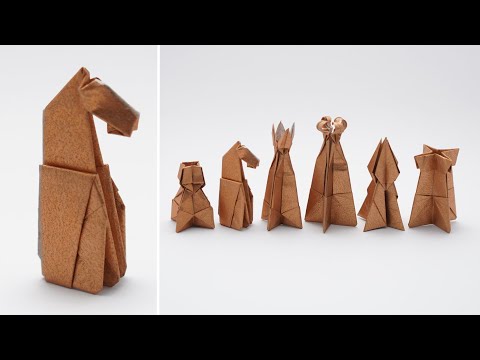
♘ Knight
The horse head was based on my origami Unicorn. This is the only piece in my origami chess set that doesn’t start with the traditional bird base.
♗ Bishop

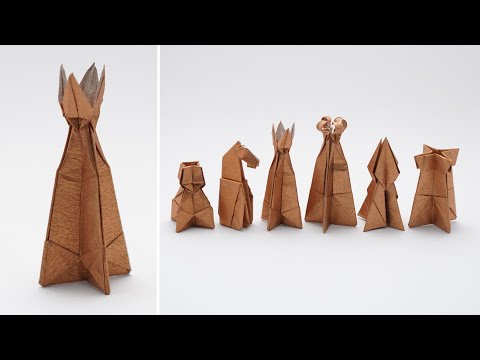
♕ Queen
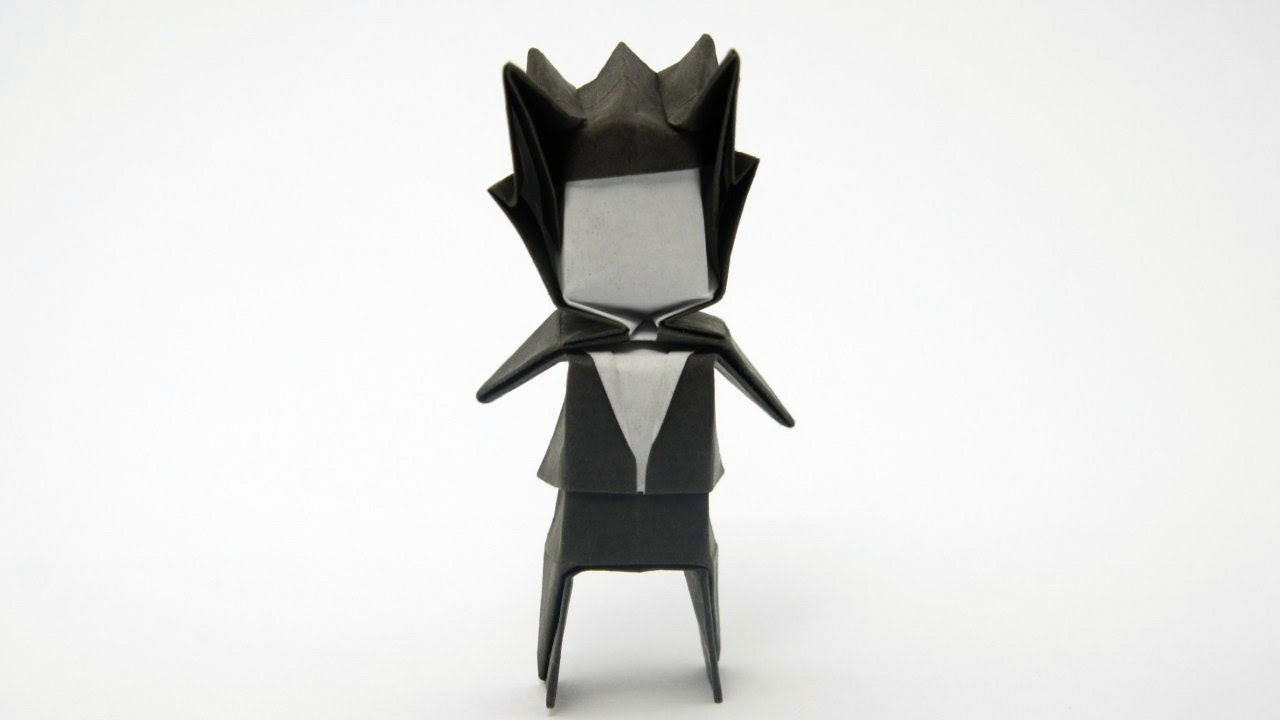
♔ King
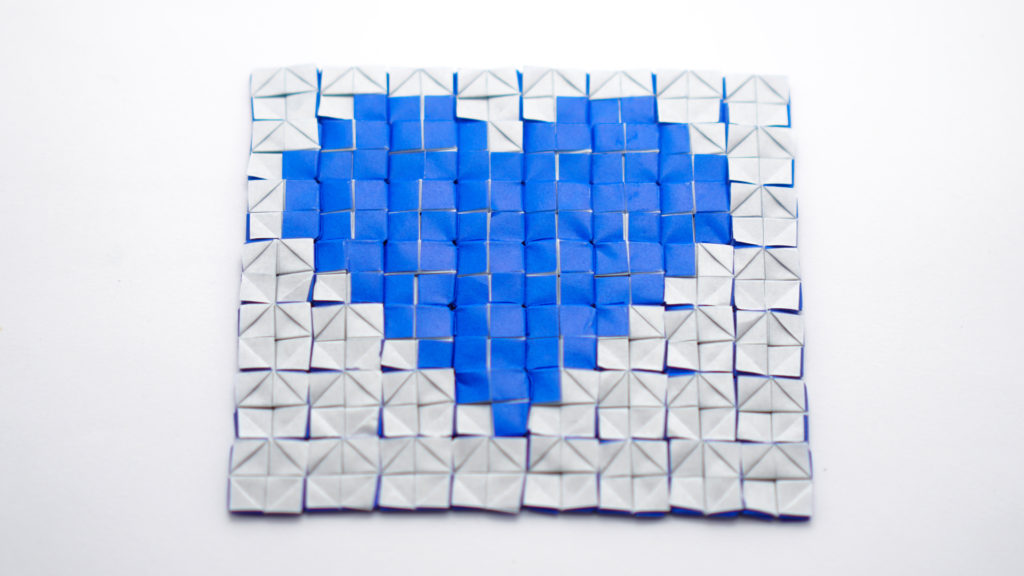
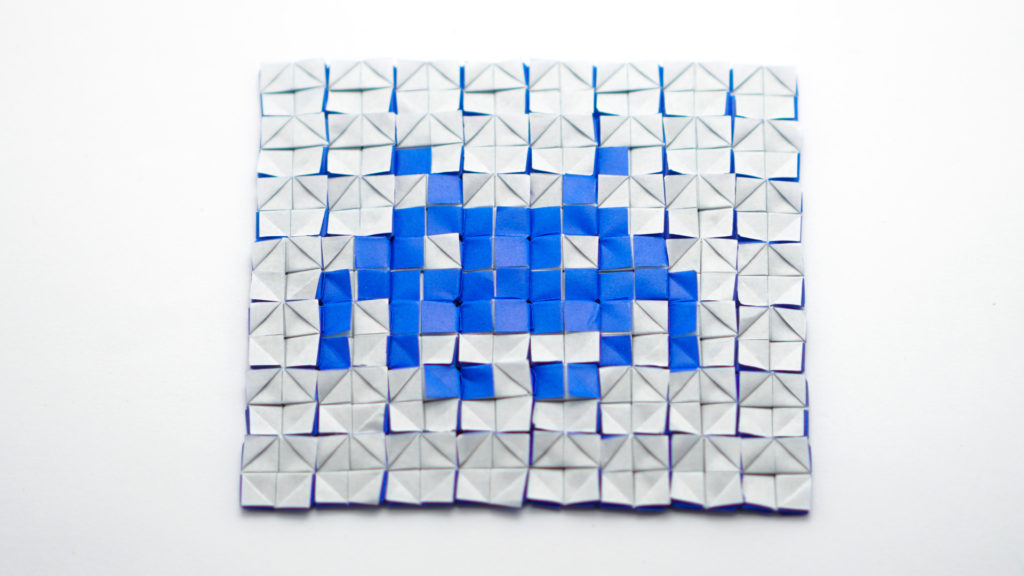
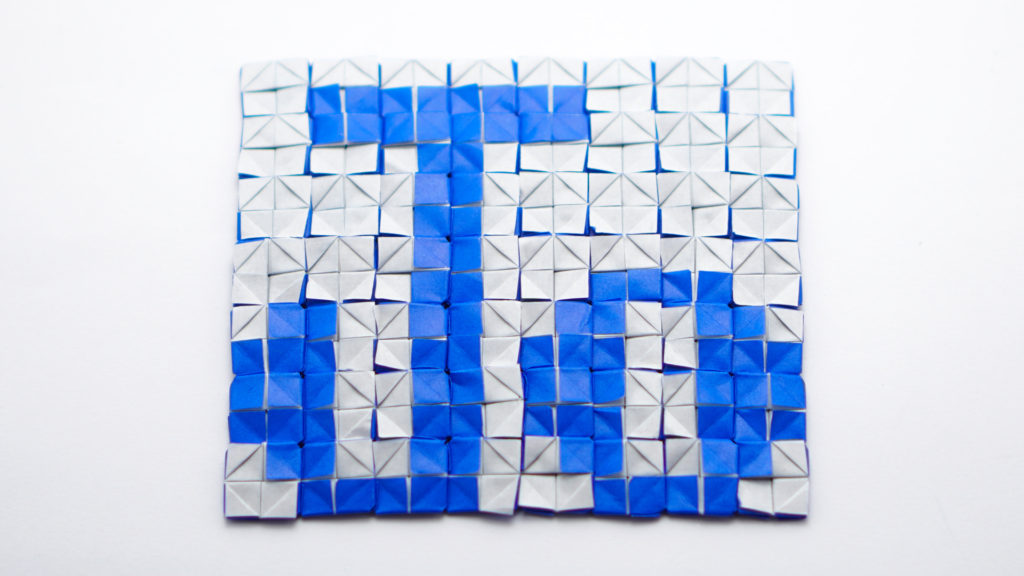
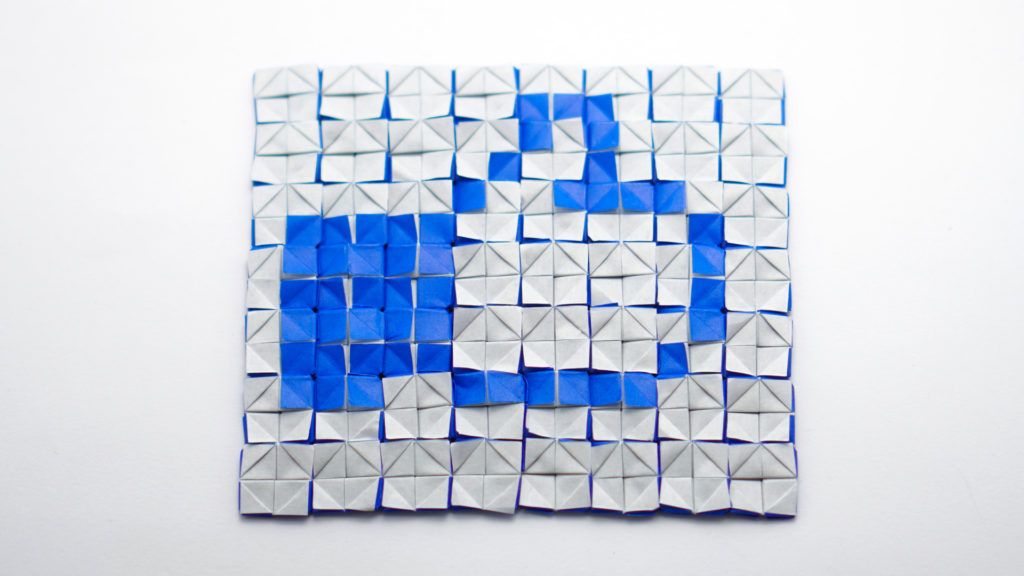
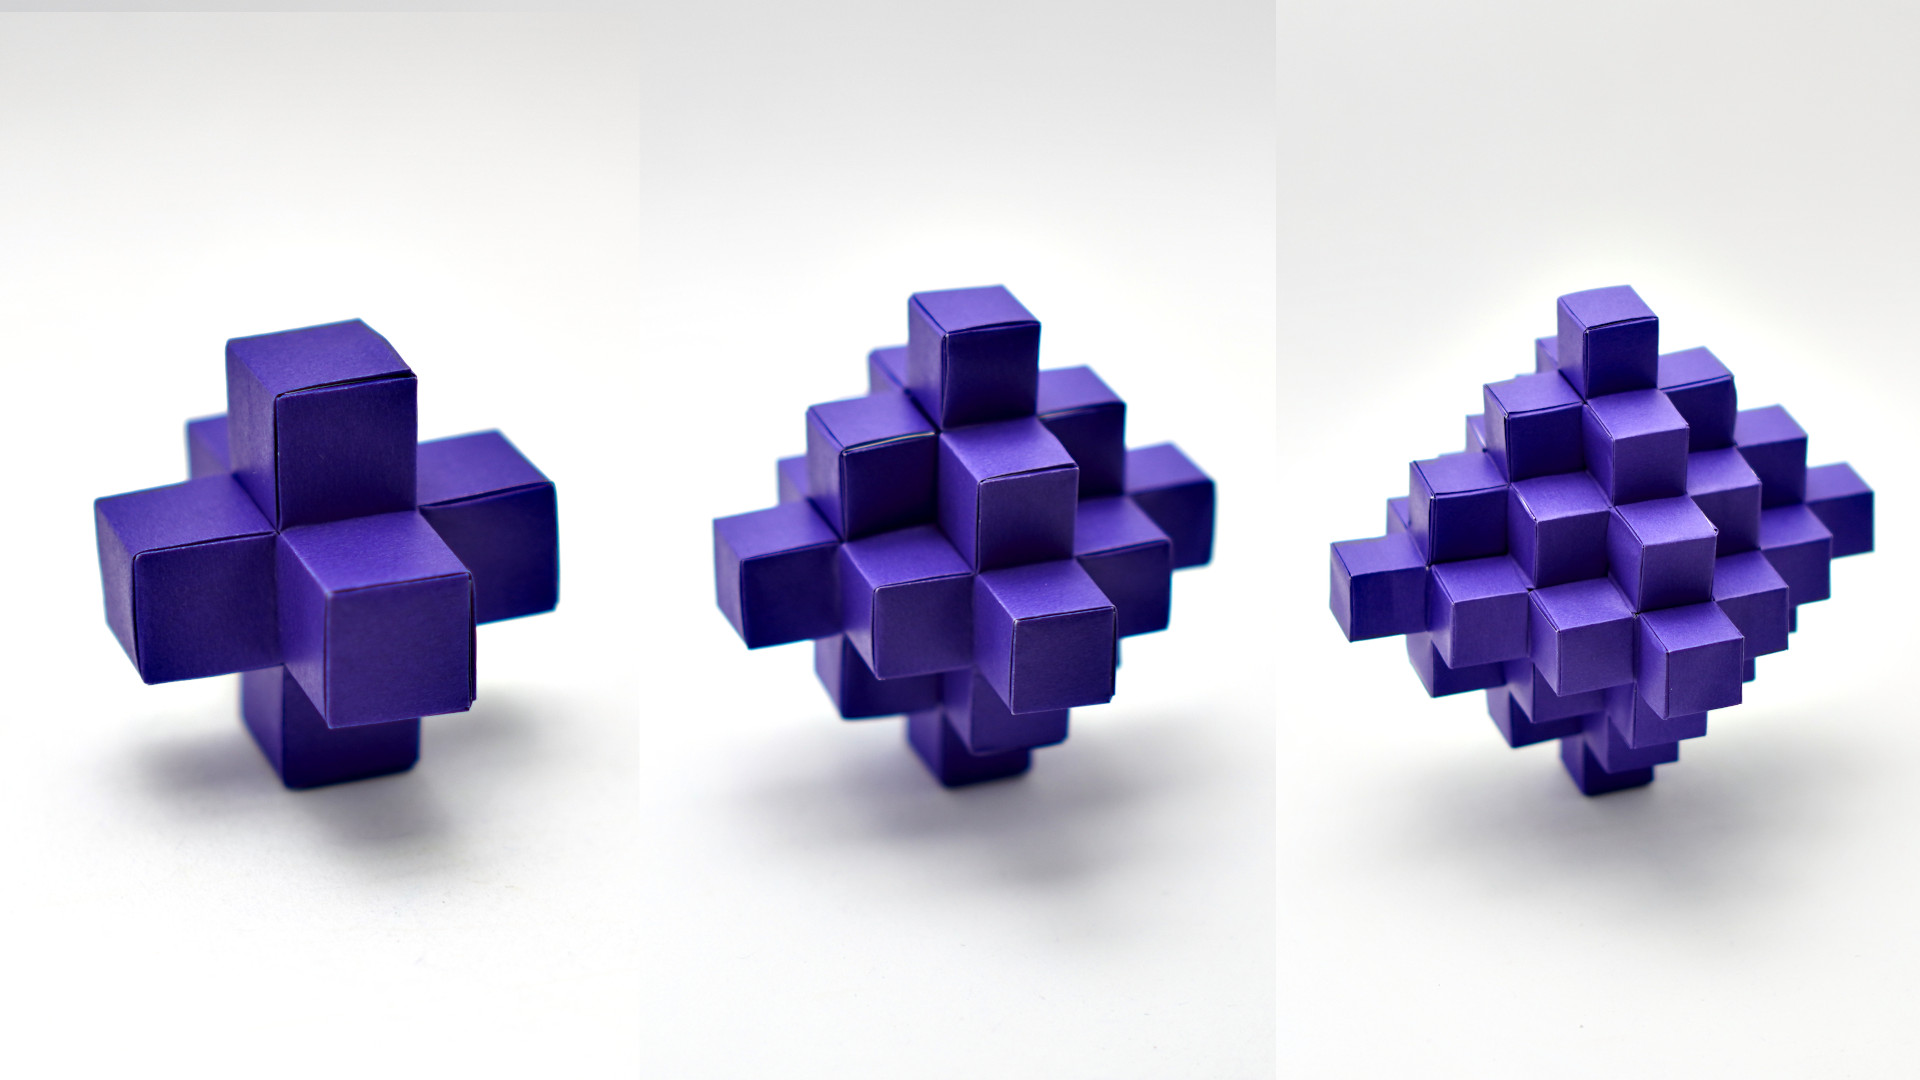
Chessboard
You can use the Origami Pixels to make the Chessboard. You’ll need 64 square sheets of paper (32 white and 32 black) with the same size you used for the pieces.
Support my work!
If you like my work, please consider visiting and subscribing to my YouTube channel! You’ll find all my work, including models that are not in this website and also models from other origami artists. The easiest way to support my work is simply watching my videos, clicking the like button, leaving comments and subscribing to my channel!
You can also contribute with small donations on Patreon or YouTube Channel Membership. It’s basically like paying me a tip as a thanks for my work and get some rewards in return, like early access to my tutorials and your name in the video (the “thank you” list). They work with recurring payments, but you can cancel anytime so one-time donations are also possible.